Hi! I’m Rebecca designer and founder of Studio Plumb. In January 2017 we became the second owners of the #plumbmidmod, a one-of-a-kind 1960 midcentury ranch on .8 of an acre outside of Sacramento, California. It has unique original architectural details, a creek running through the yard, and a perfect floorplan. It also needs a sh!#t ton of work. Bit by bit with the help of my dear old dad we’re bringing it back to its former glory with a modern spin.
Catch up on the past few weeks


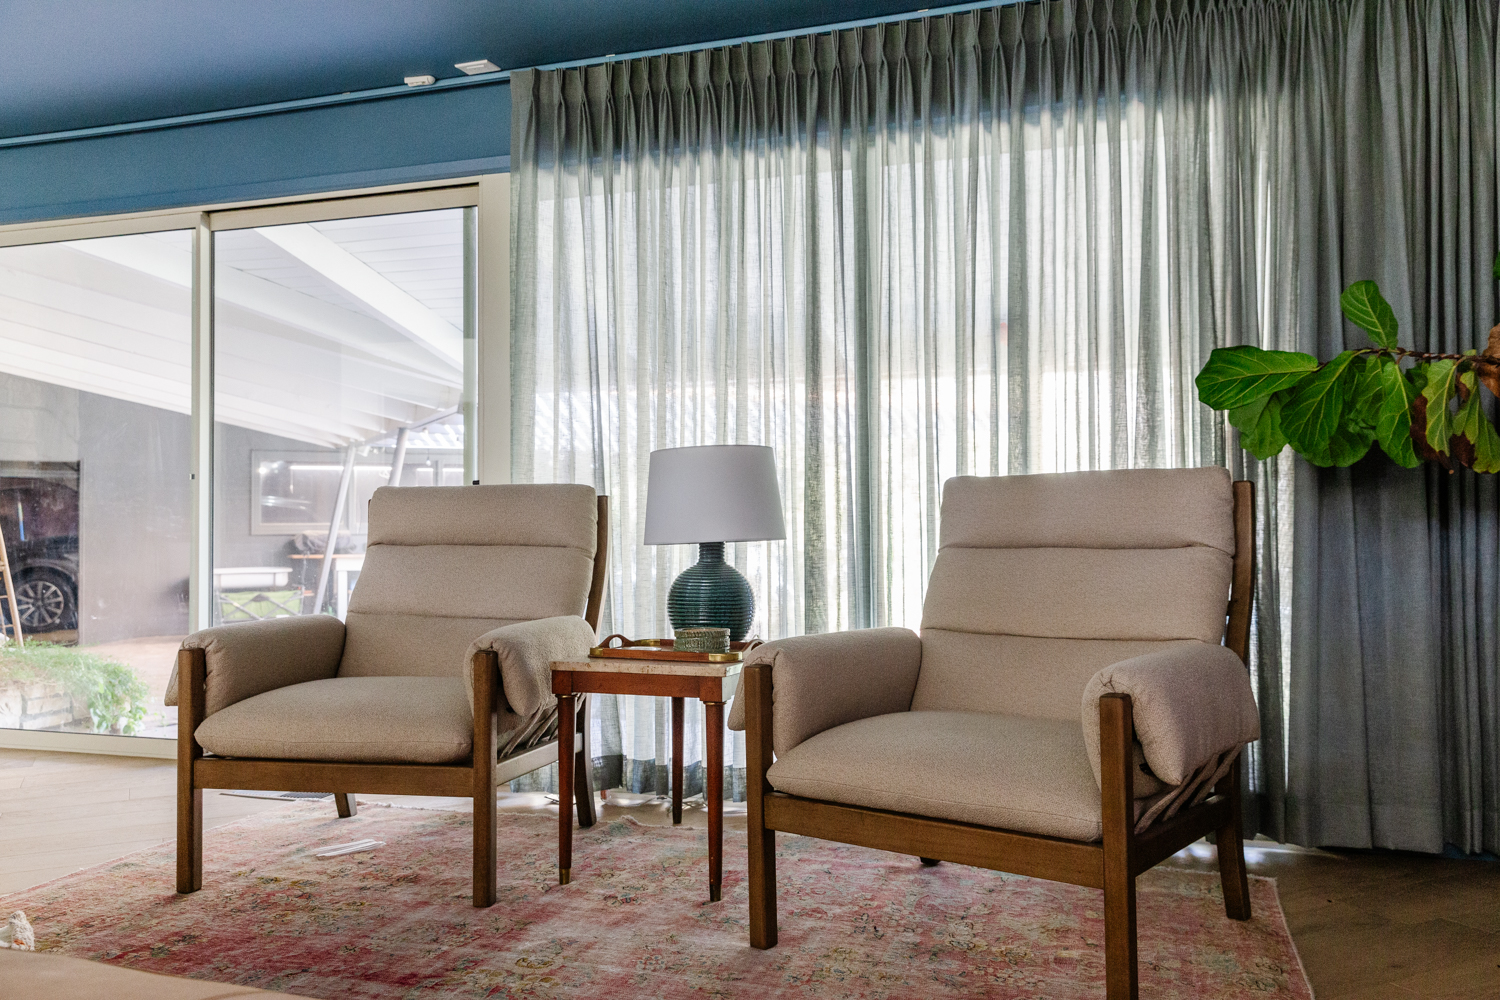
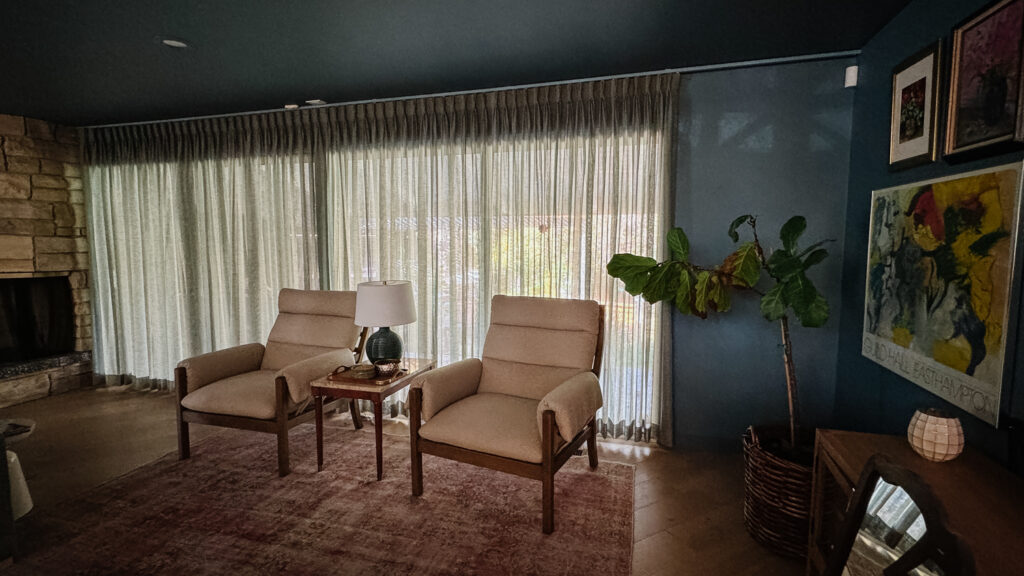
When we bought our house I fell in love with the huge, floor-to-ceiling windows in this room that framed the view to our back yard and all the wildlife we see back there. So when we moved in I immediately removed the 50 year old crumbling drapery and lived without coverings for the last 7 years. It hasn’t been a huge problem because our yard is so private, but the last couple years I started wanting to add softness to that wall and it does get cold during the winter months when you’re sitting by it.
The problem is the wall is almost 20′ long, and most of that is glass so it was going to be expensive and a little tricky to figure out. But when I started on this job I decided to treat it like a client project and get it handled professionally. I ordered ours through my showroom, Happy Hour Design Collective and am so happy with how they turned out. Our line has tons of fabric options to choose from and we can even customize. Send me a message if you need window treatments because they really change the room dramatically.
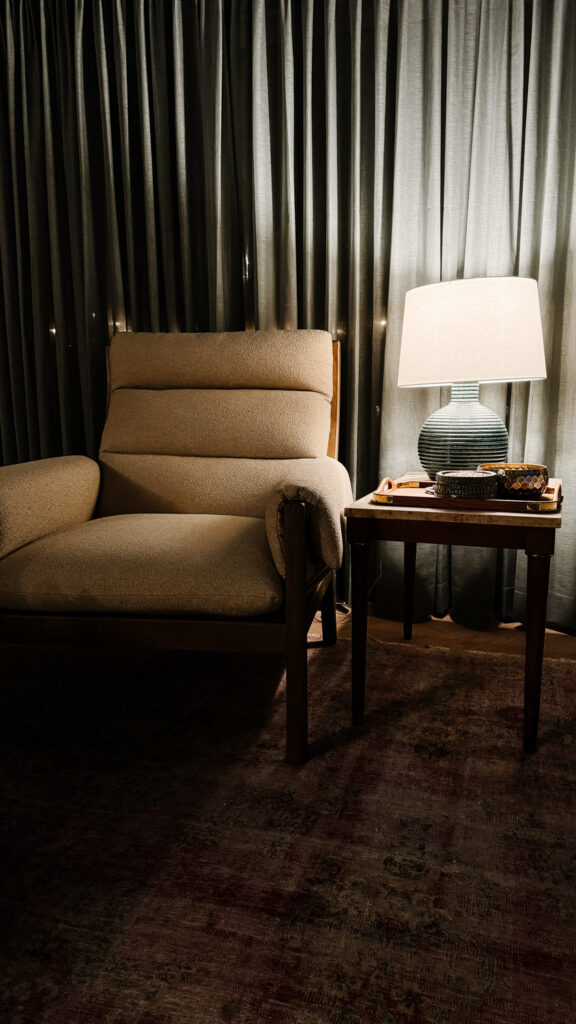
I knew I wanted sheers, partly to still allow light through, but also because I knew it was going to be a lot of fabric and wanted it to stack as tightly as possible. It took a lot of measuring to get it right. Basically you measure the height of where you want your rod (ceiling in this case), subtract any hardware height and then subtract distance off of floor. I ended up making one panel at the maximum width the company makes and its actually perfect. It still will stack off the window when open, but I can also cover all the glass when I need to.
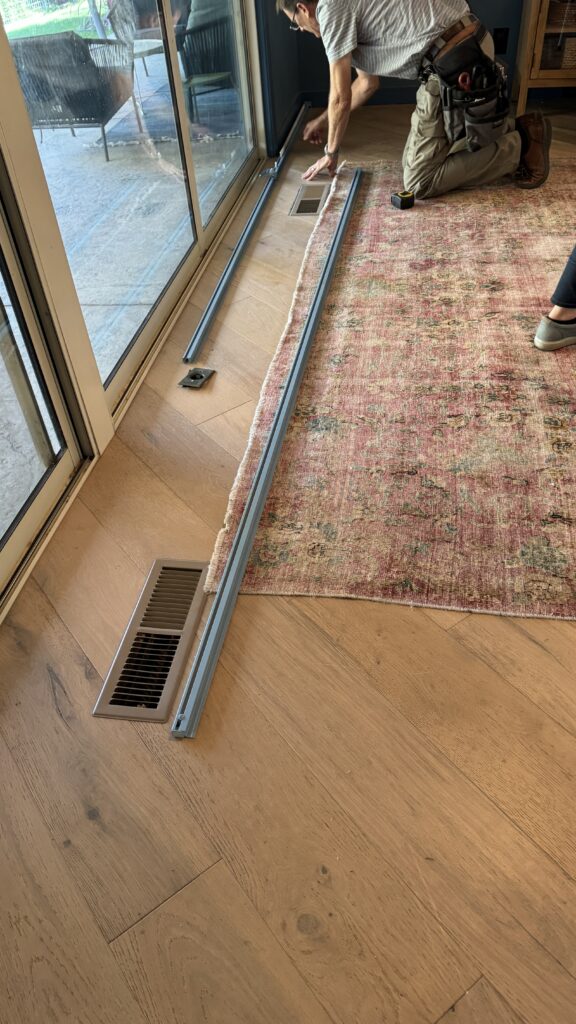
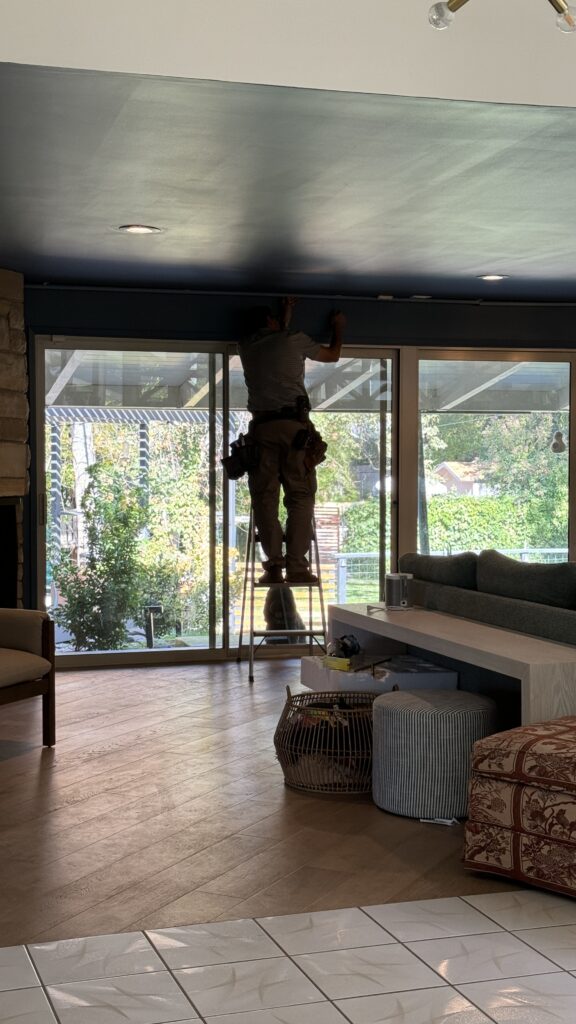
It took a few weeks for the custom drapery and hardware to arrive and then I hired a professional installer to hang them. Its something we could have done ourselves, but it would have taken us hours and risked my marriage to make it happen. The installer had it done in less than an hour and there was no cussing involved.
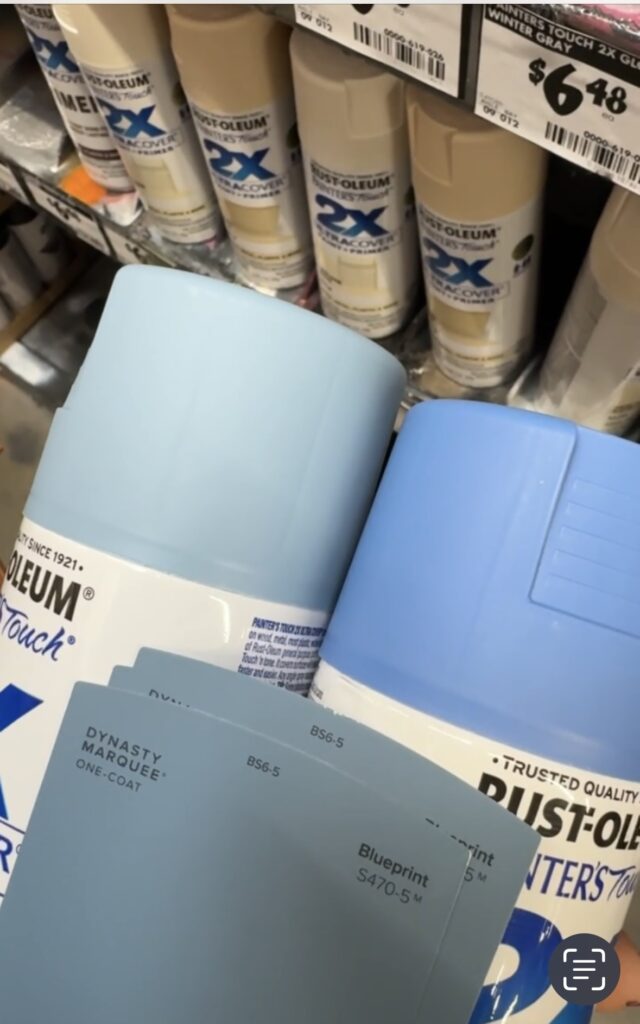
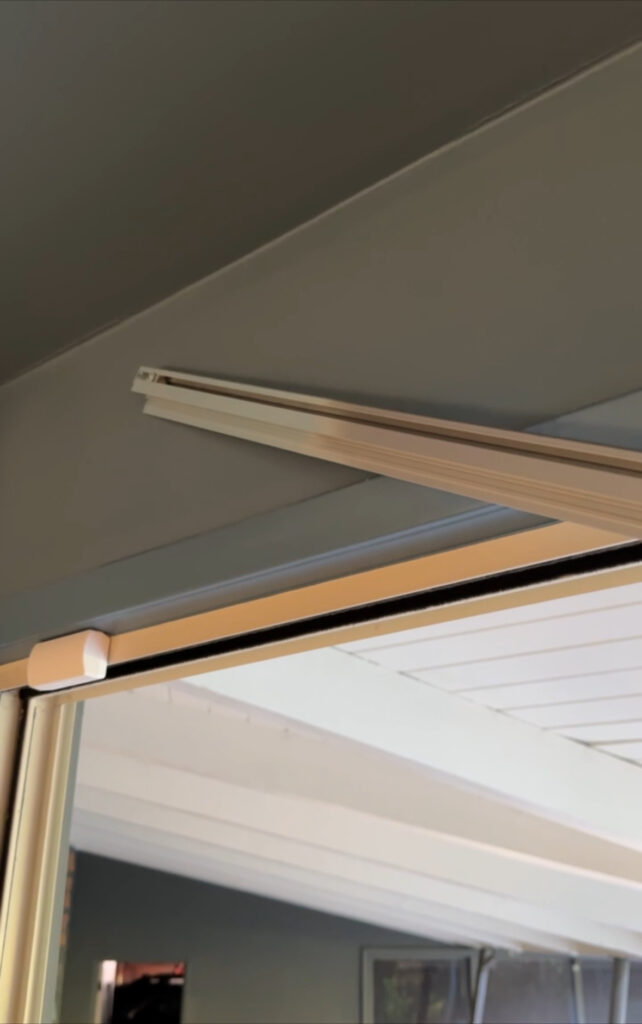
The first thing I had to do was spray paint the aluminum hardware. Since its ceiling mounted, the track is totally visible and I wanted it to disappear. I grabbed the closest spray paint I could find, and although its lighter than the walls, it actually looks pretty close once it was installed on the ceiling.

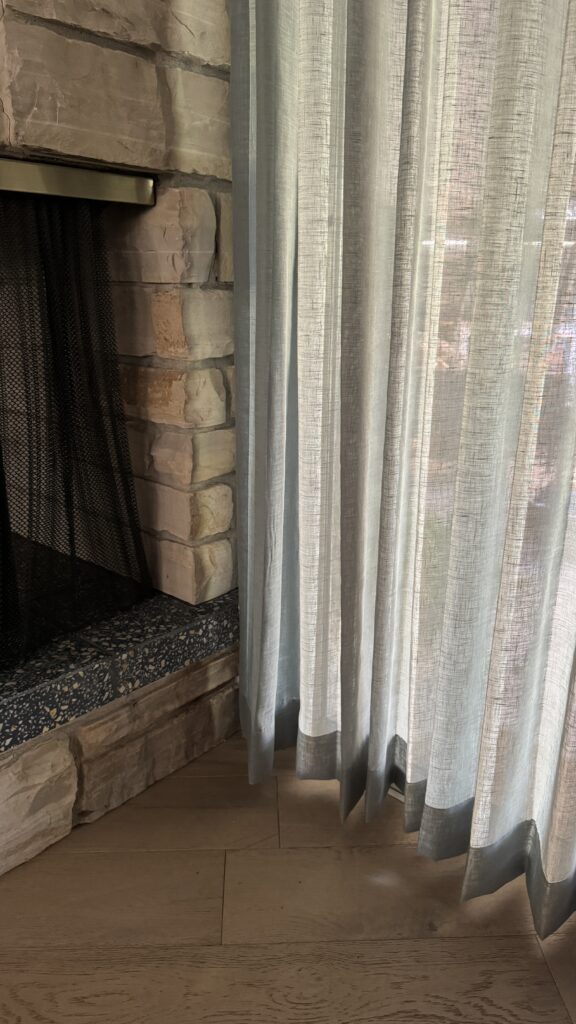
I chose a linen textured sheer in a gray-aqua color to coordinate with the sectional, but to also not contrast too much with the colored walls. It definitely makes it moodier in here when they’re all the way closed but everyone who has seen them says the room feels so much cozier. You can see below how the panel doesn’t stretch corner-to-corner when closed due to panel limitations, but its rare that we’ll close them like this so it doesn’t bother me. That tree though, is finally ready to move to its great reward.
The track is almost a perfect match once installed. Ignore the speaker hardware and electrical please.😐

They still need a good steam but these textures coming together make me very happy. 🙂 My favorite though is how it feels at night.
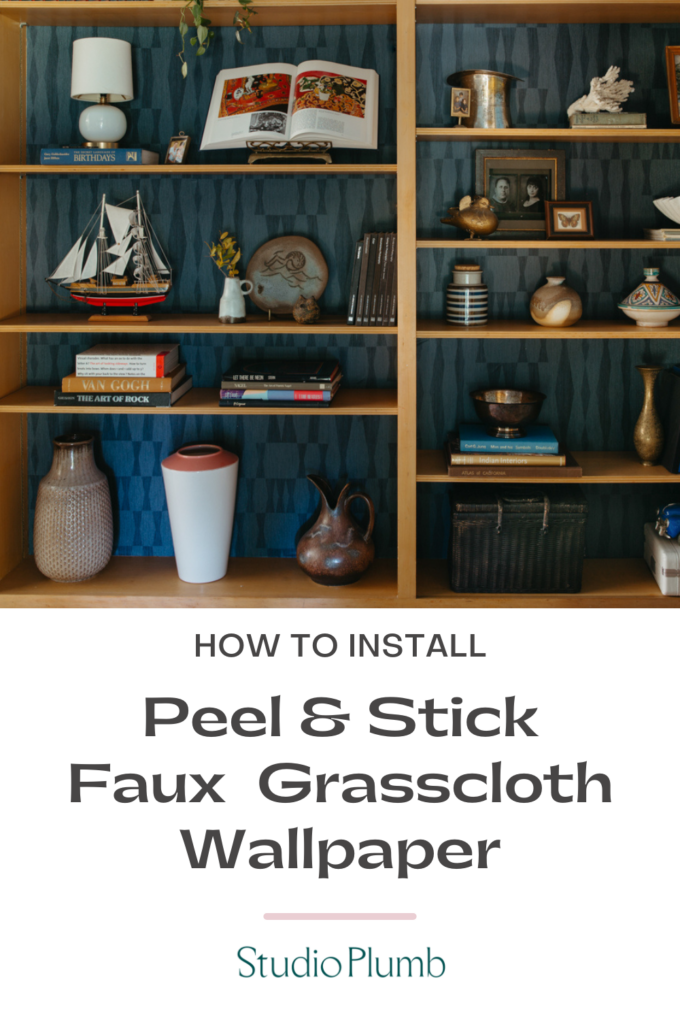
Wallpaper
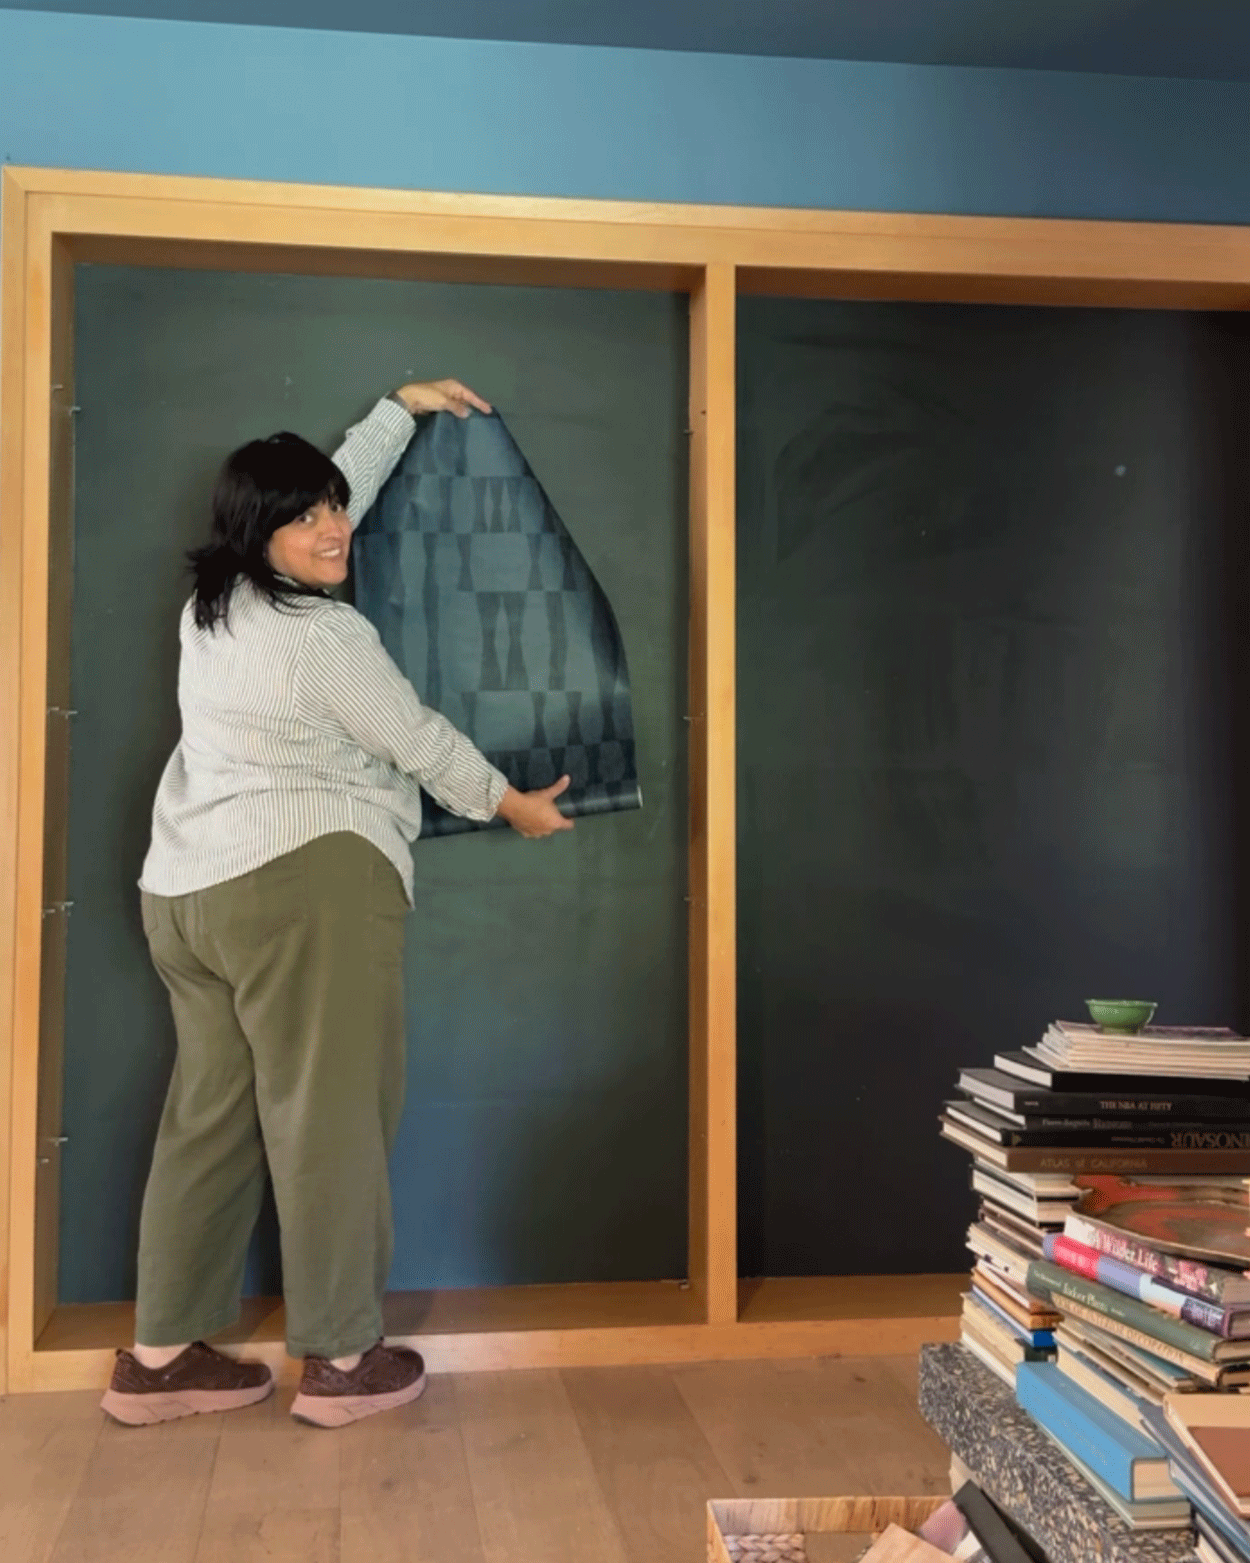
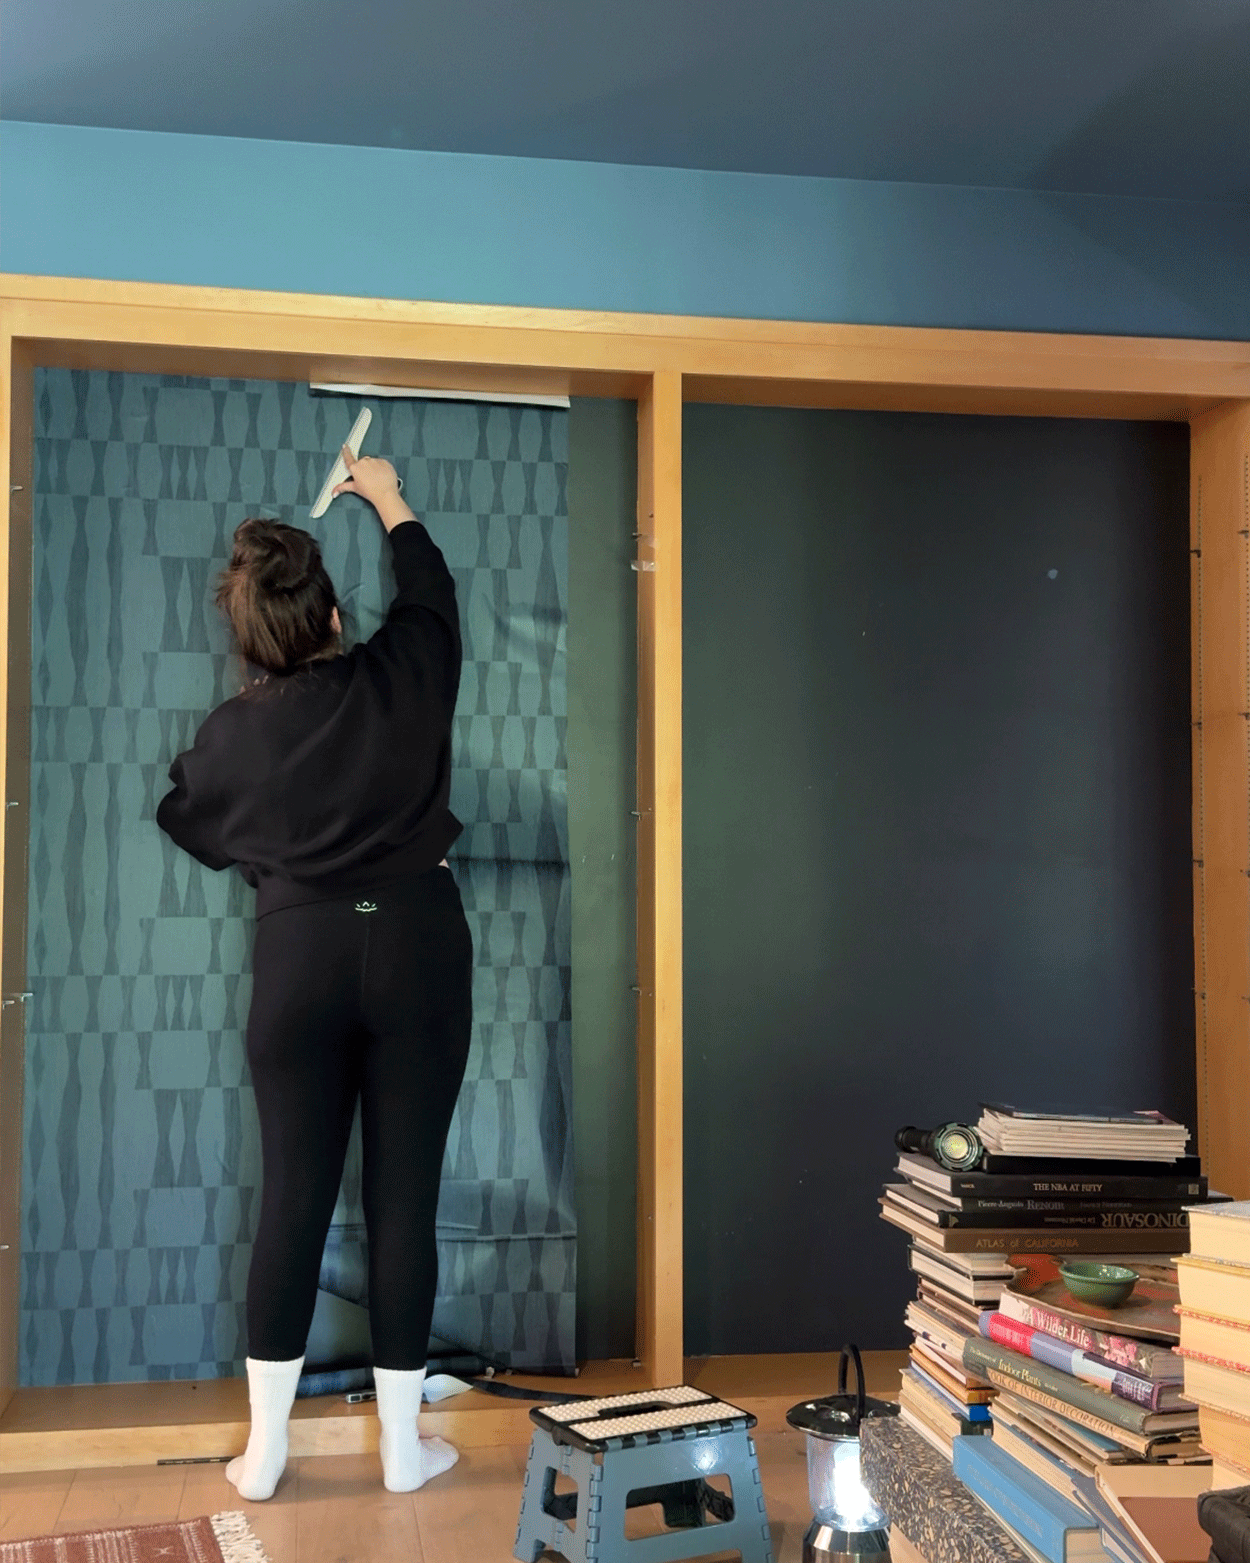
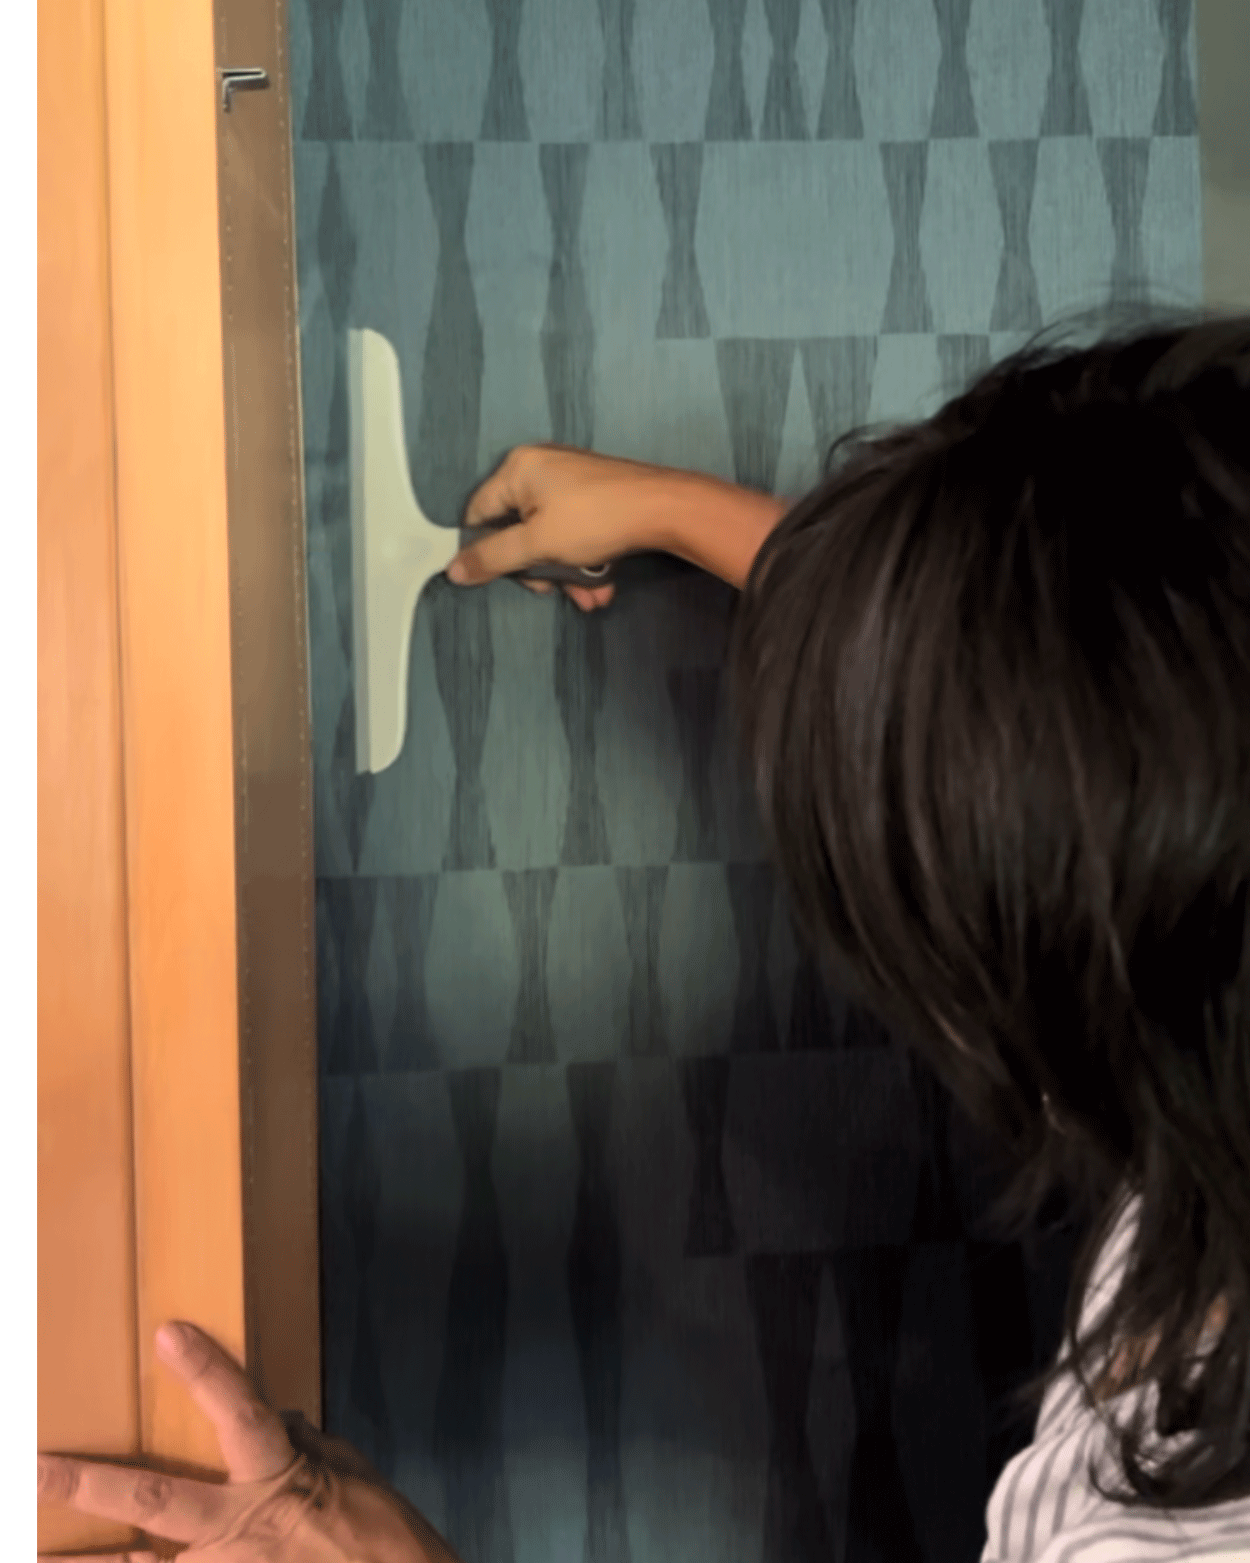
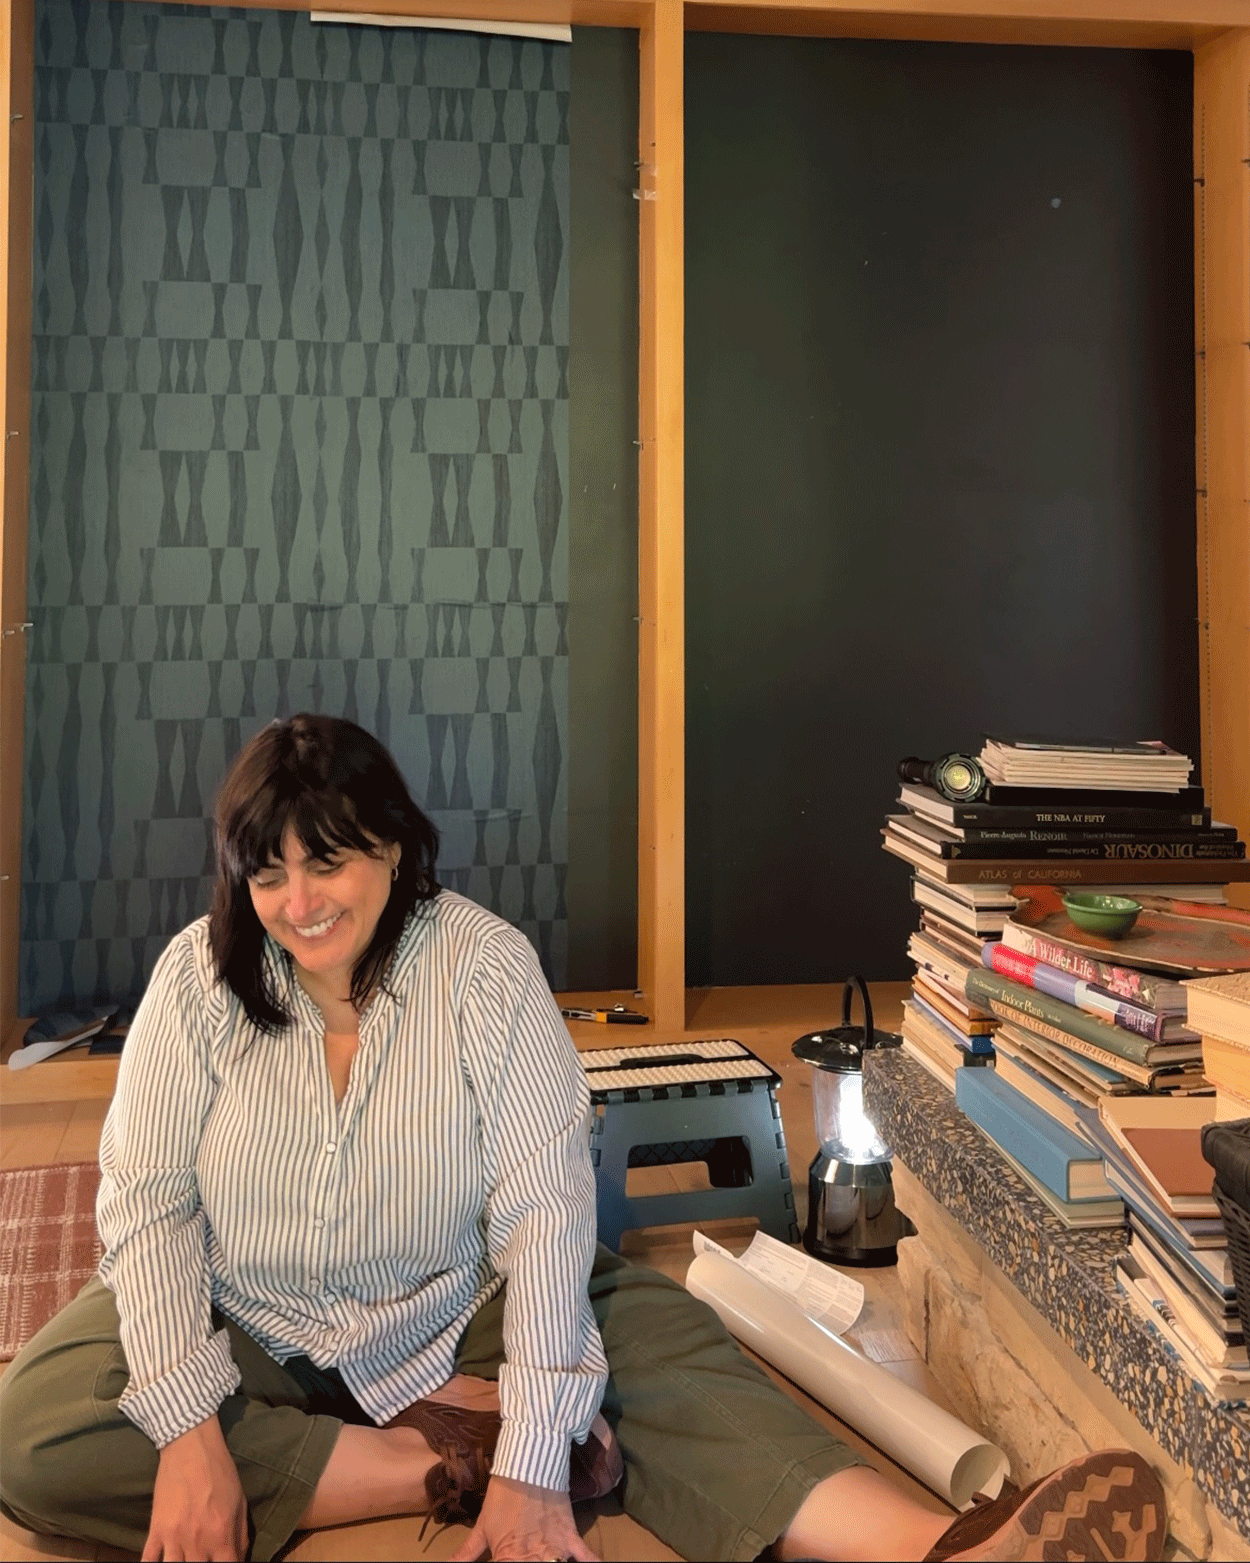
Then it was time to wallpaper! I chose a vinyl grasscloth removable wallpaper gifted to me from Tempaper. I love that the color is similar to the wall color and the tonal pattern reminds me of the geometric pattern in the breeze block wall.
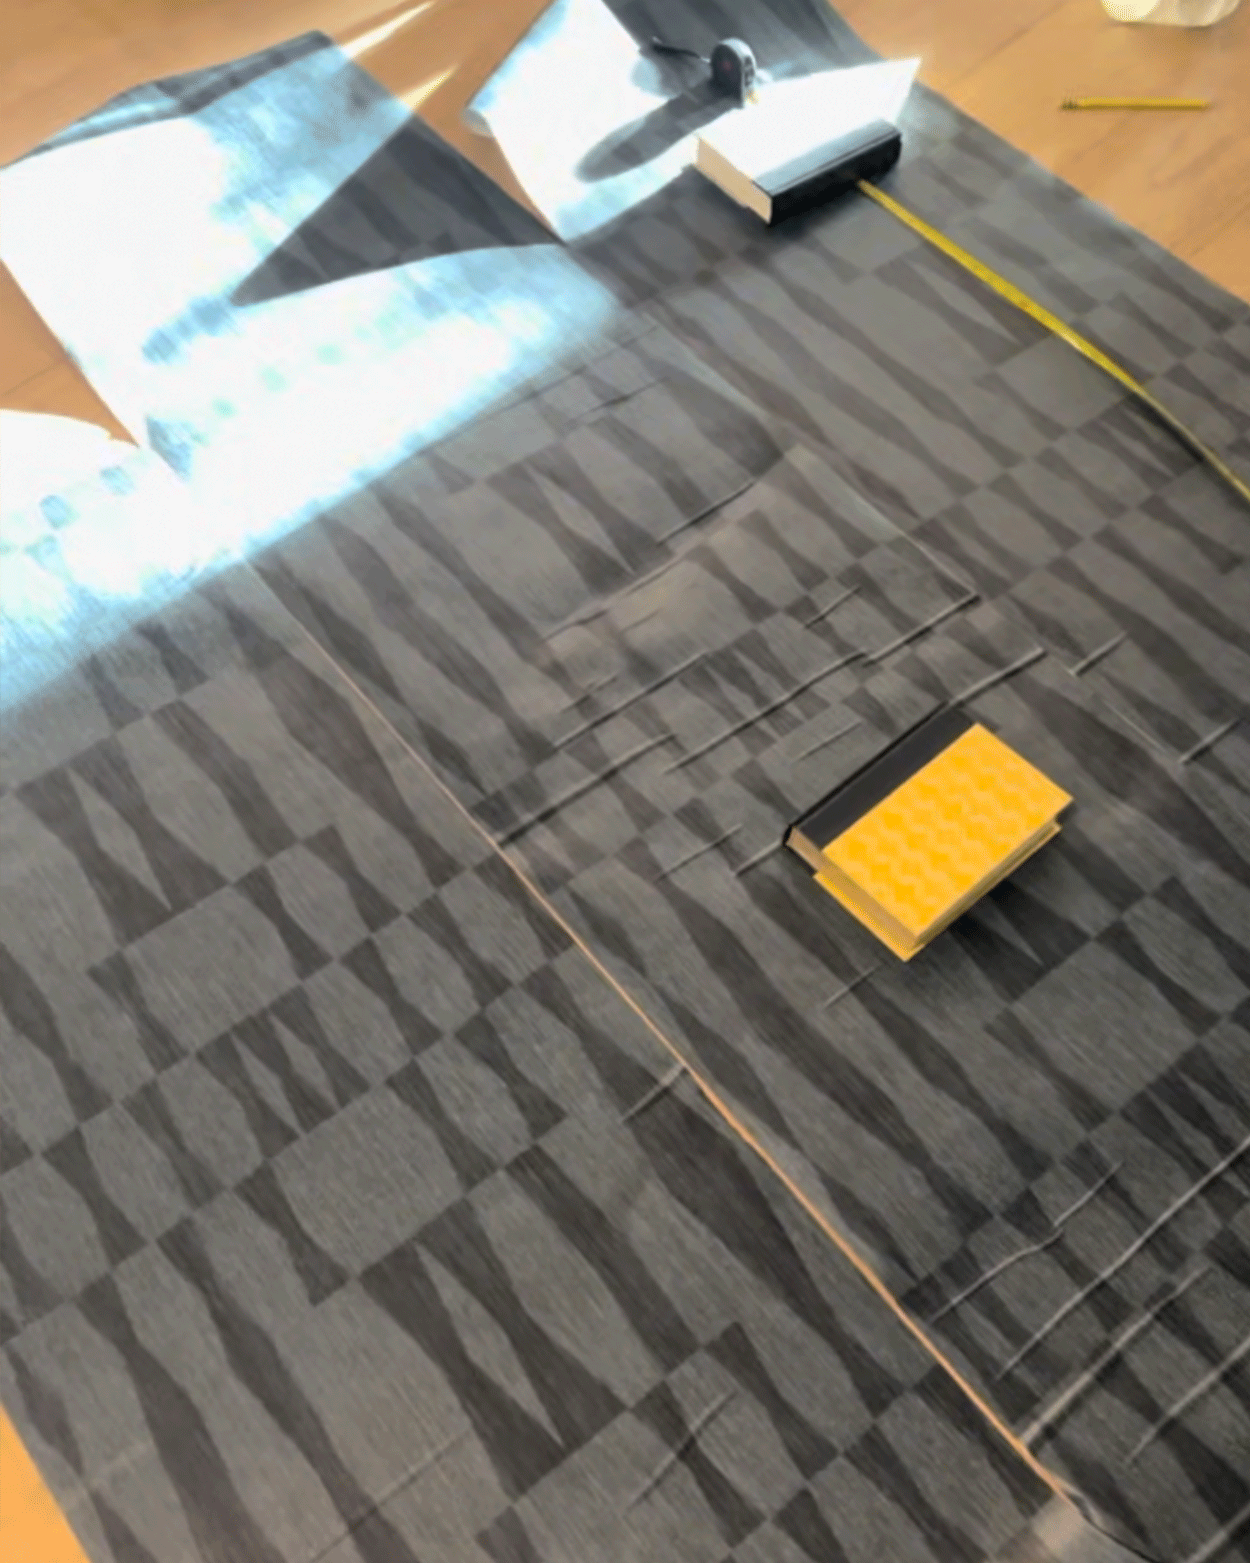
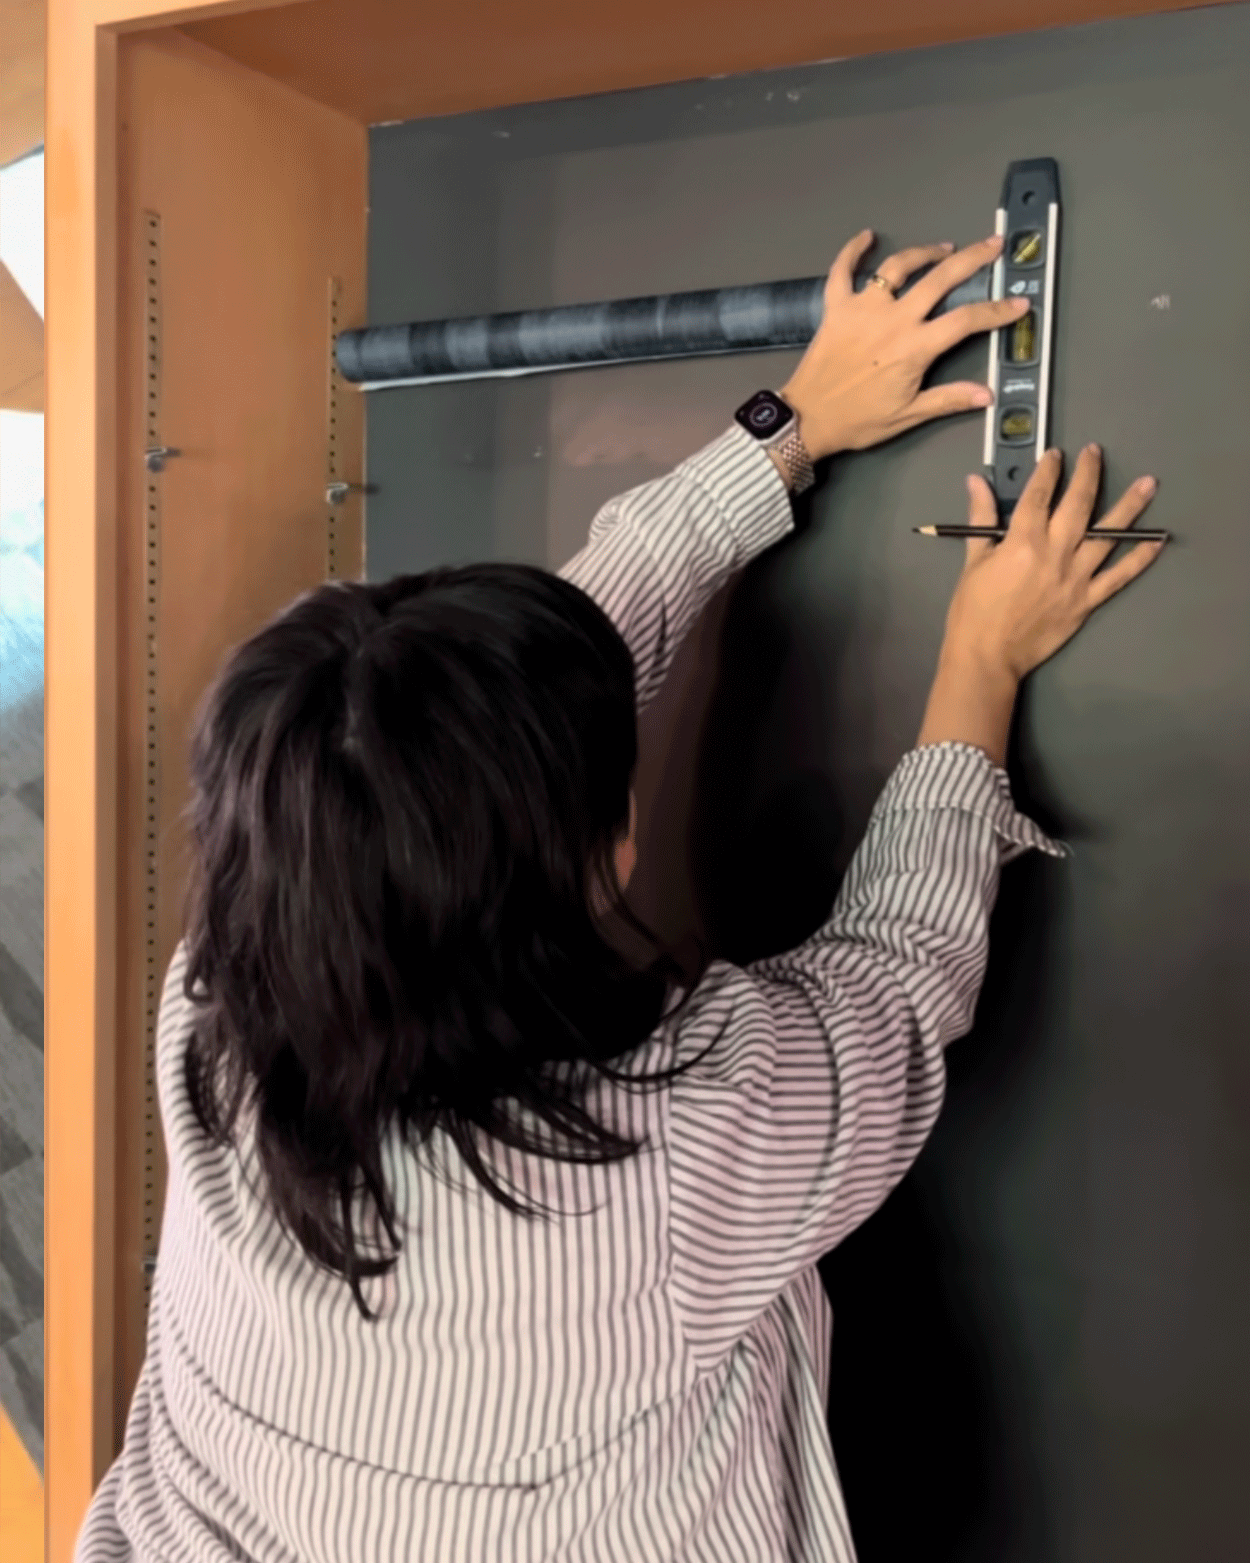
I’ll admit I was a little nervous applying the wallpaper. I asked Aynsley to come help for moral support and an extra set of hands and it was surprisingly easy to apply. I probably could have done it myself, but I’m glad I had help because I was pretty exhausted and punchy at this point. Its removable, so we could reposition it as needed but it was pretty simple to do at this manageable size. See below and hover over photos for step-by-step! I LOVE how it turned out but you have to wait until Week 8 to see it all done.
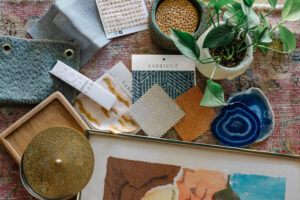
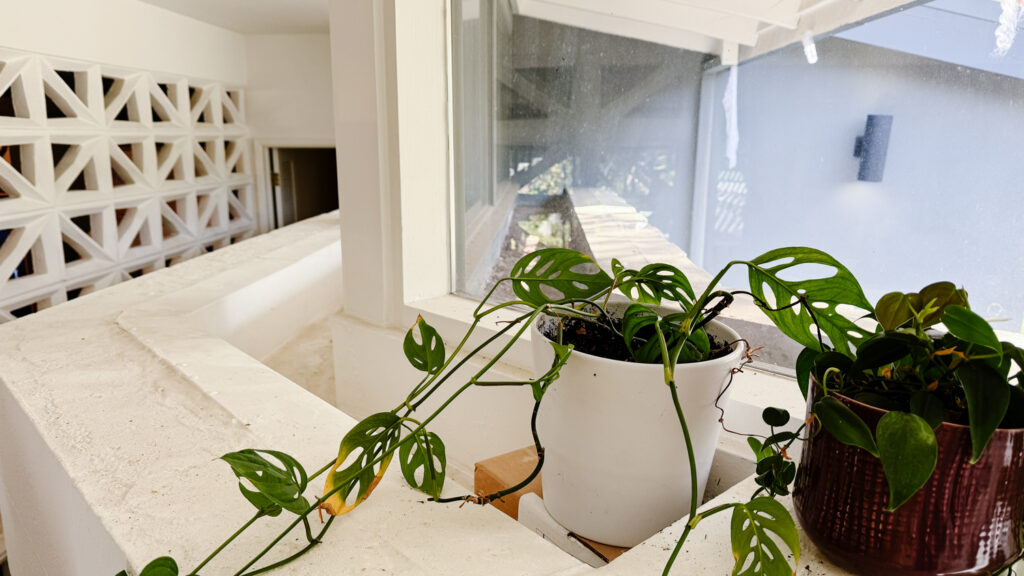
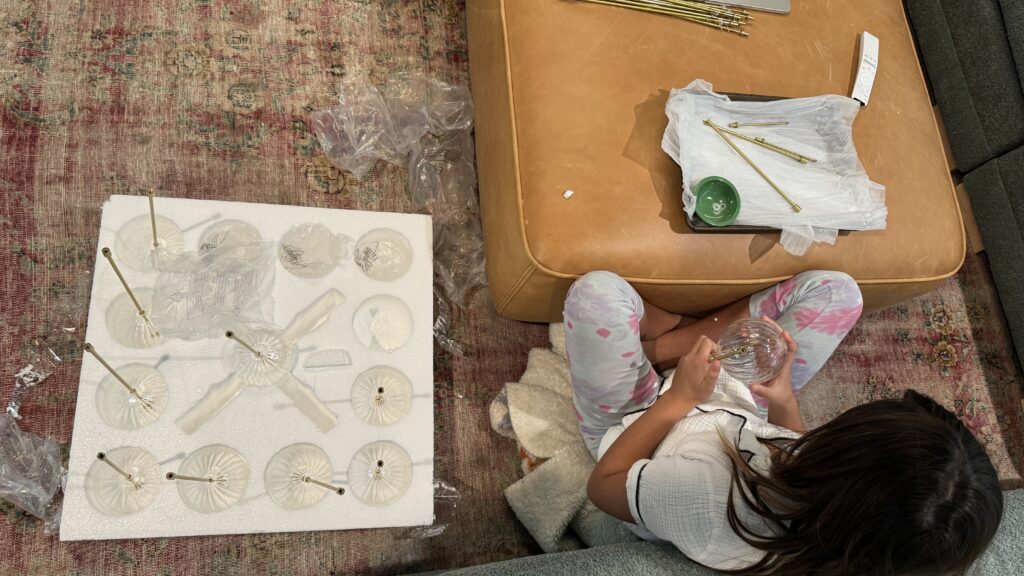
We are spending the next couple days putting finishing touches together. I’m also adding plants to our integrated planter in the entry (finally!!!) and bribed my kid to put the new chandelier together. Easy!😵💫
We are so close to the finish line and i’m days away from the photographer coming to shoot everything. I will be hustling to get it ready the next couple days so wish me luck!
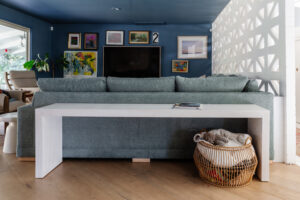
FAMILY Room
- New sectional
- Order drapery
- Install drapery
- New media console
- Install light fixtures
- Build skinny sofa table
- Source accent tables
- Hang art
- Source accent chairs
- Style!
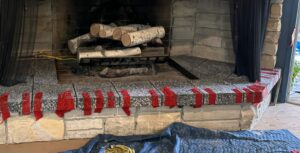
FIREPLACe / ENTRY
- Demo existing tile hearth
- Install tile hearth
- Wallpaper bookcase
- Restyle bookcase
- Select plants for planter box
- Replace entry chandelier

I’ve found so much inspiration from fellow participants. Be sure to read all the posts from all the rooms here! Thank you to Linda and the One Room Challenge team for all their hard work making this event run smoothly. And more thanks to Apartment Therapy, this season’s media partner, who are covering the event.
I’ll be updating the blog weekly, but follow along on Instagram for more behind-the-scenes progress!