This project is sponsored by Build with Ferguson showroom.
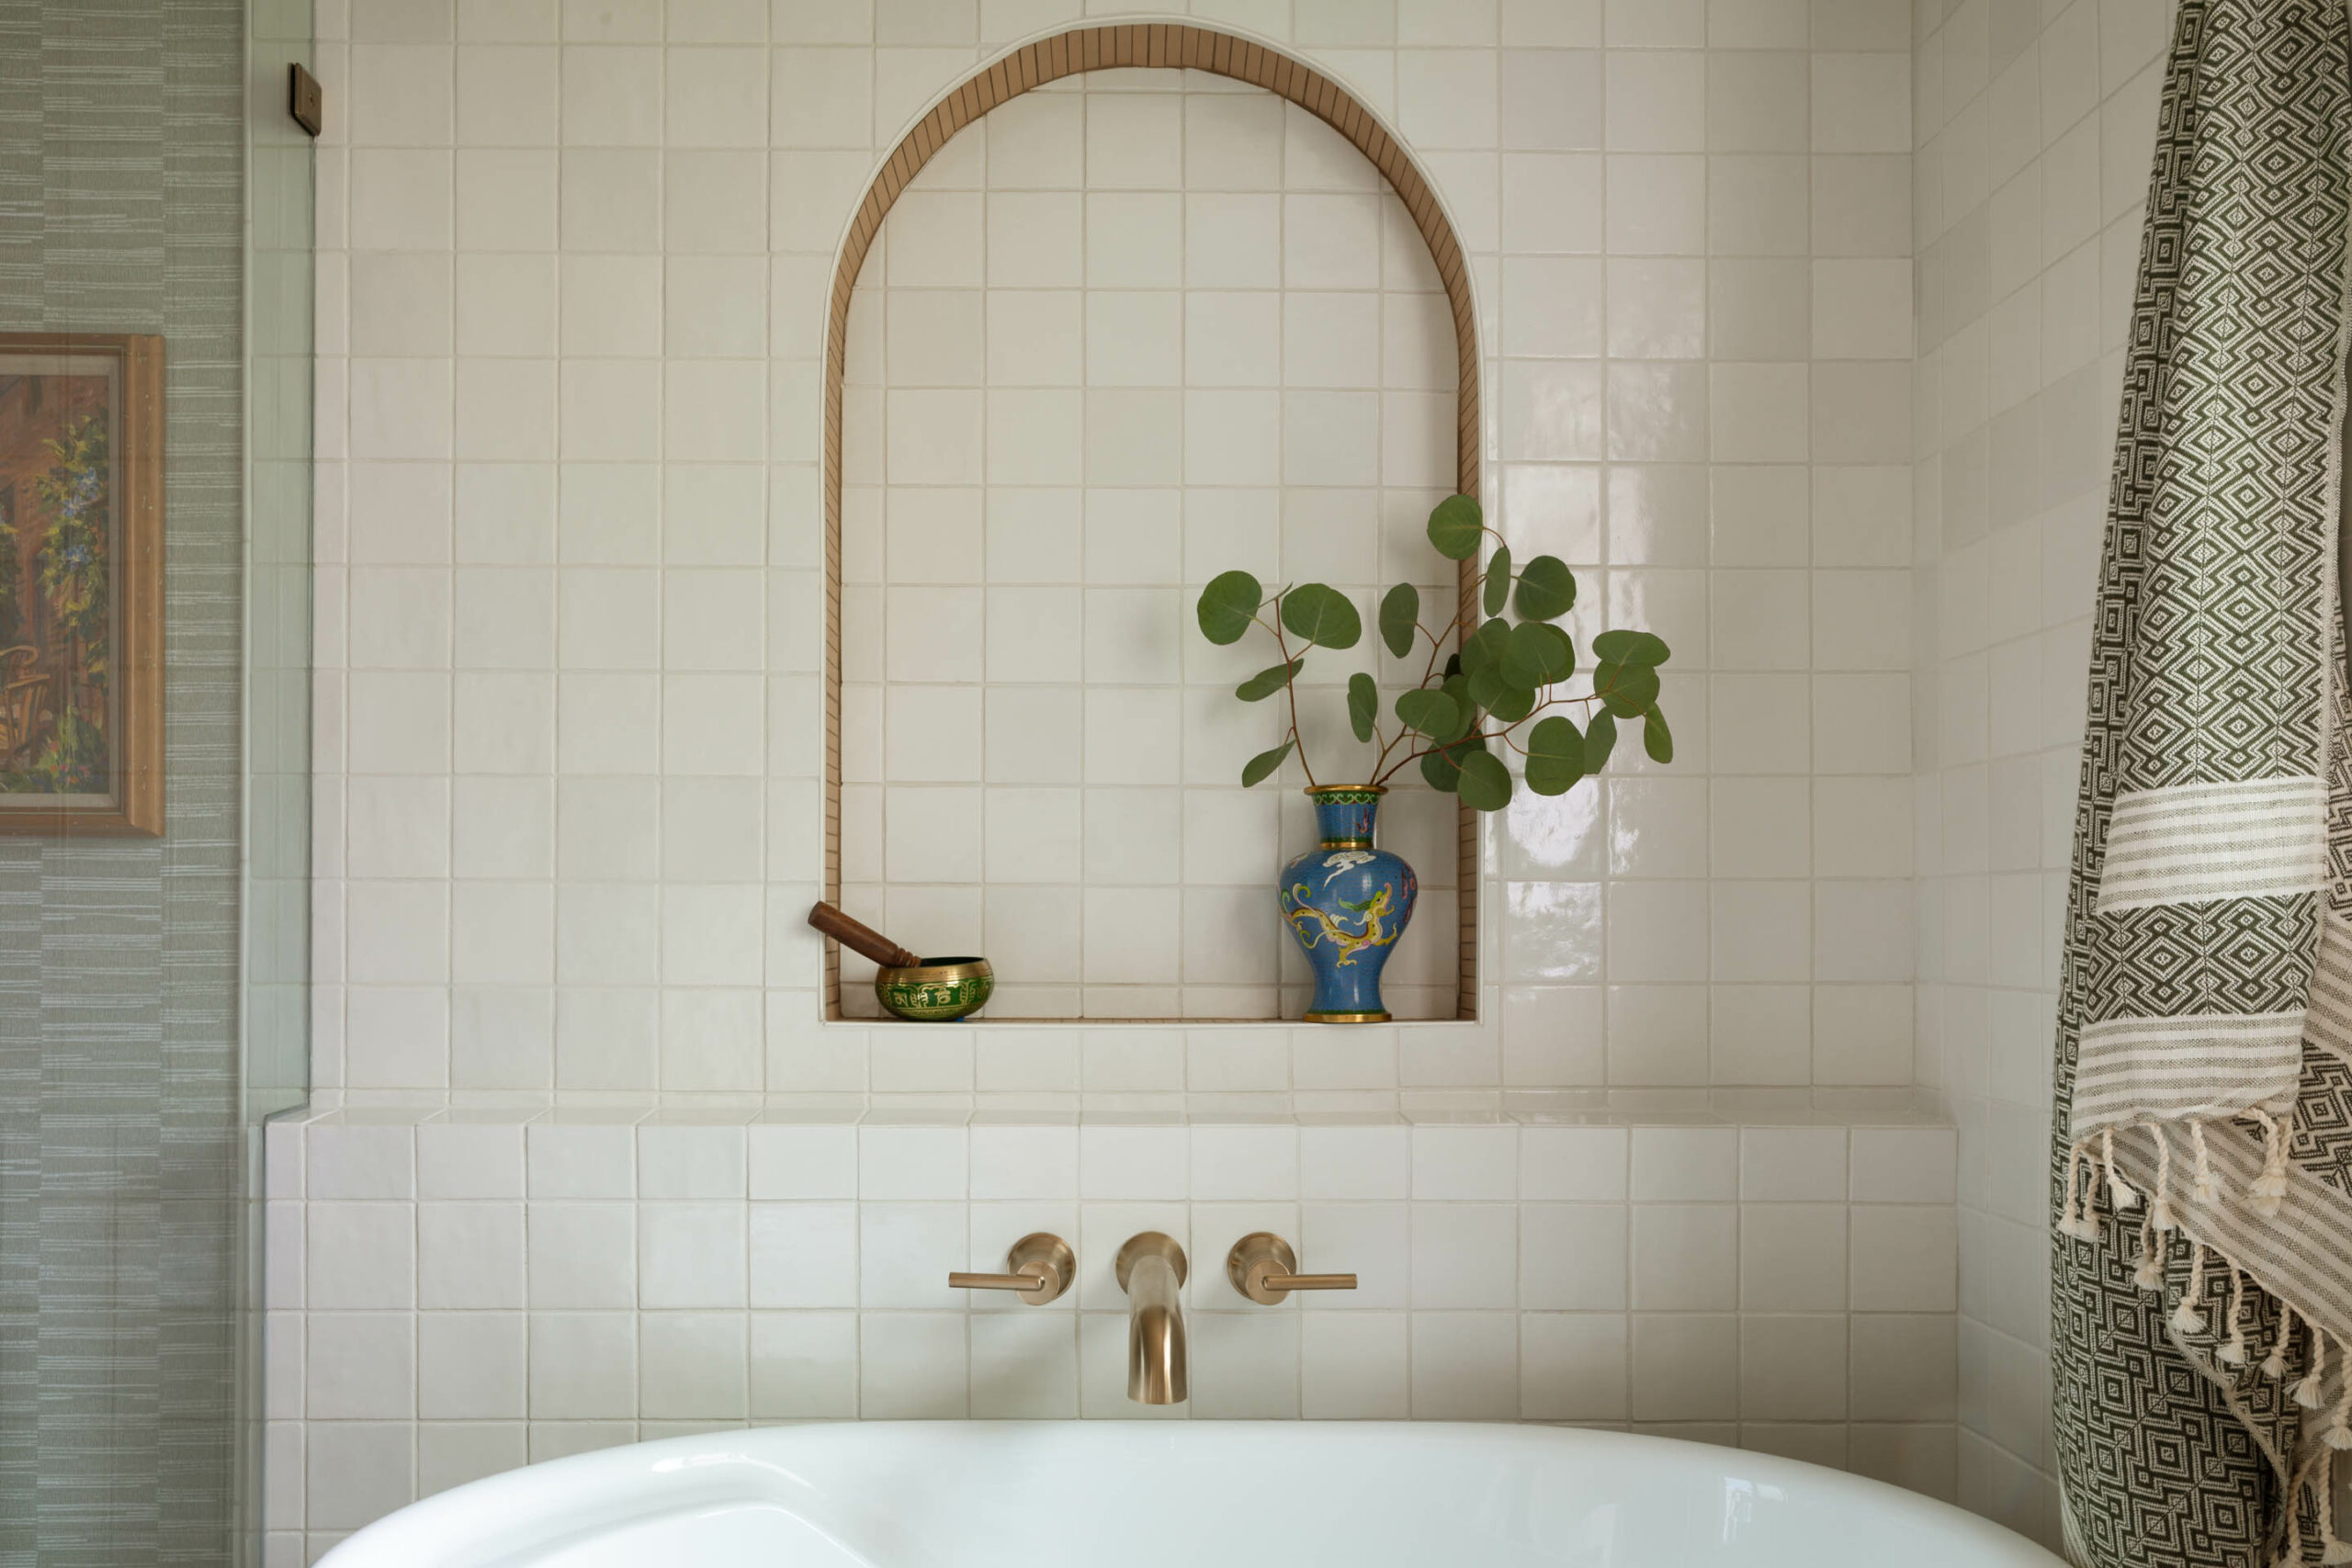
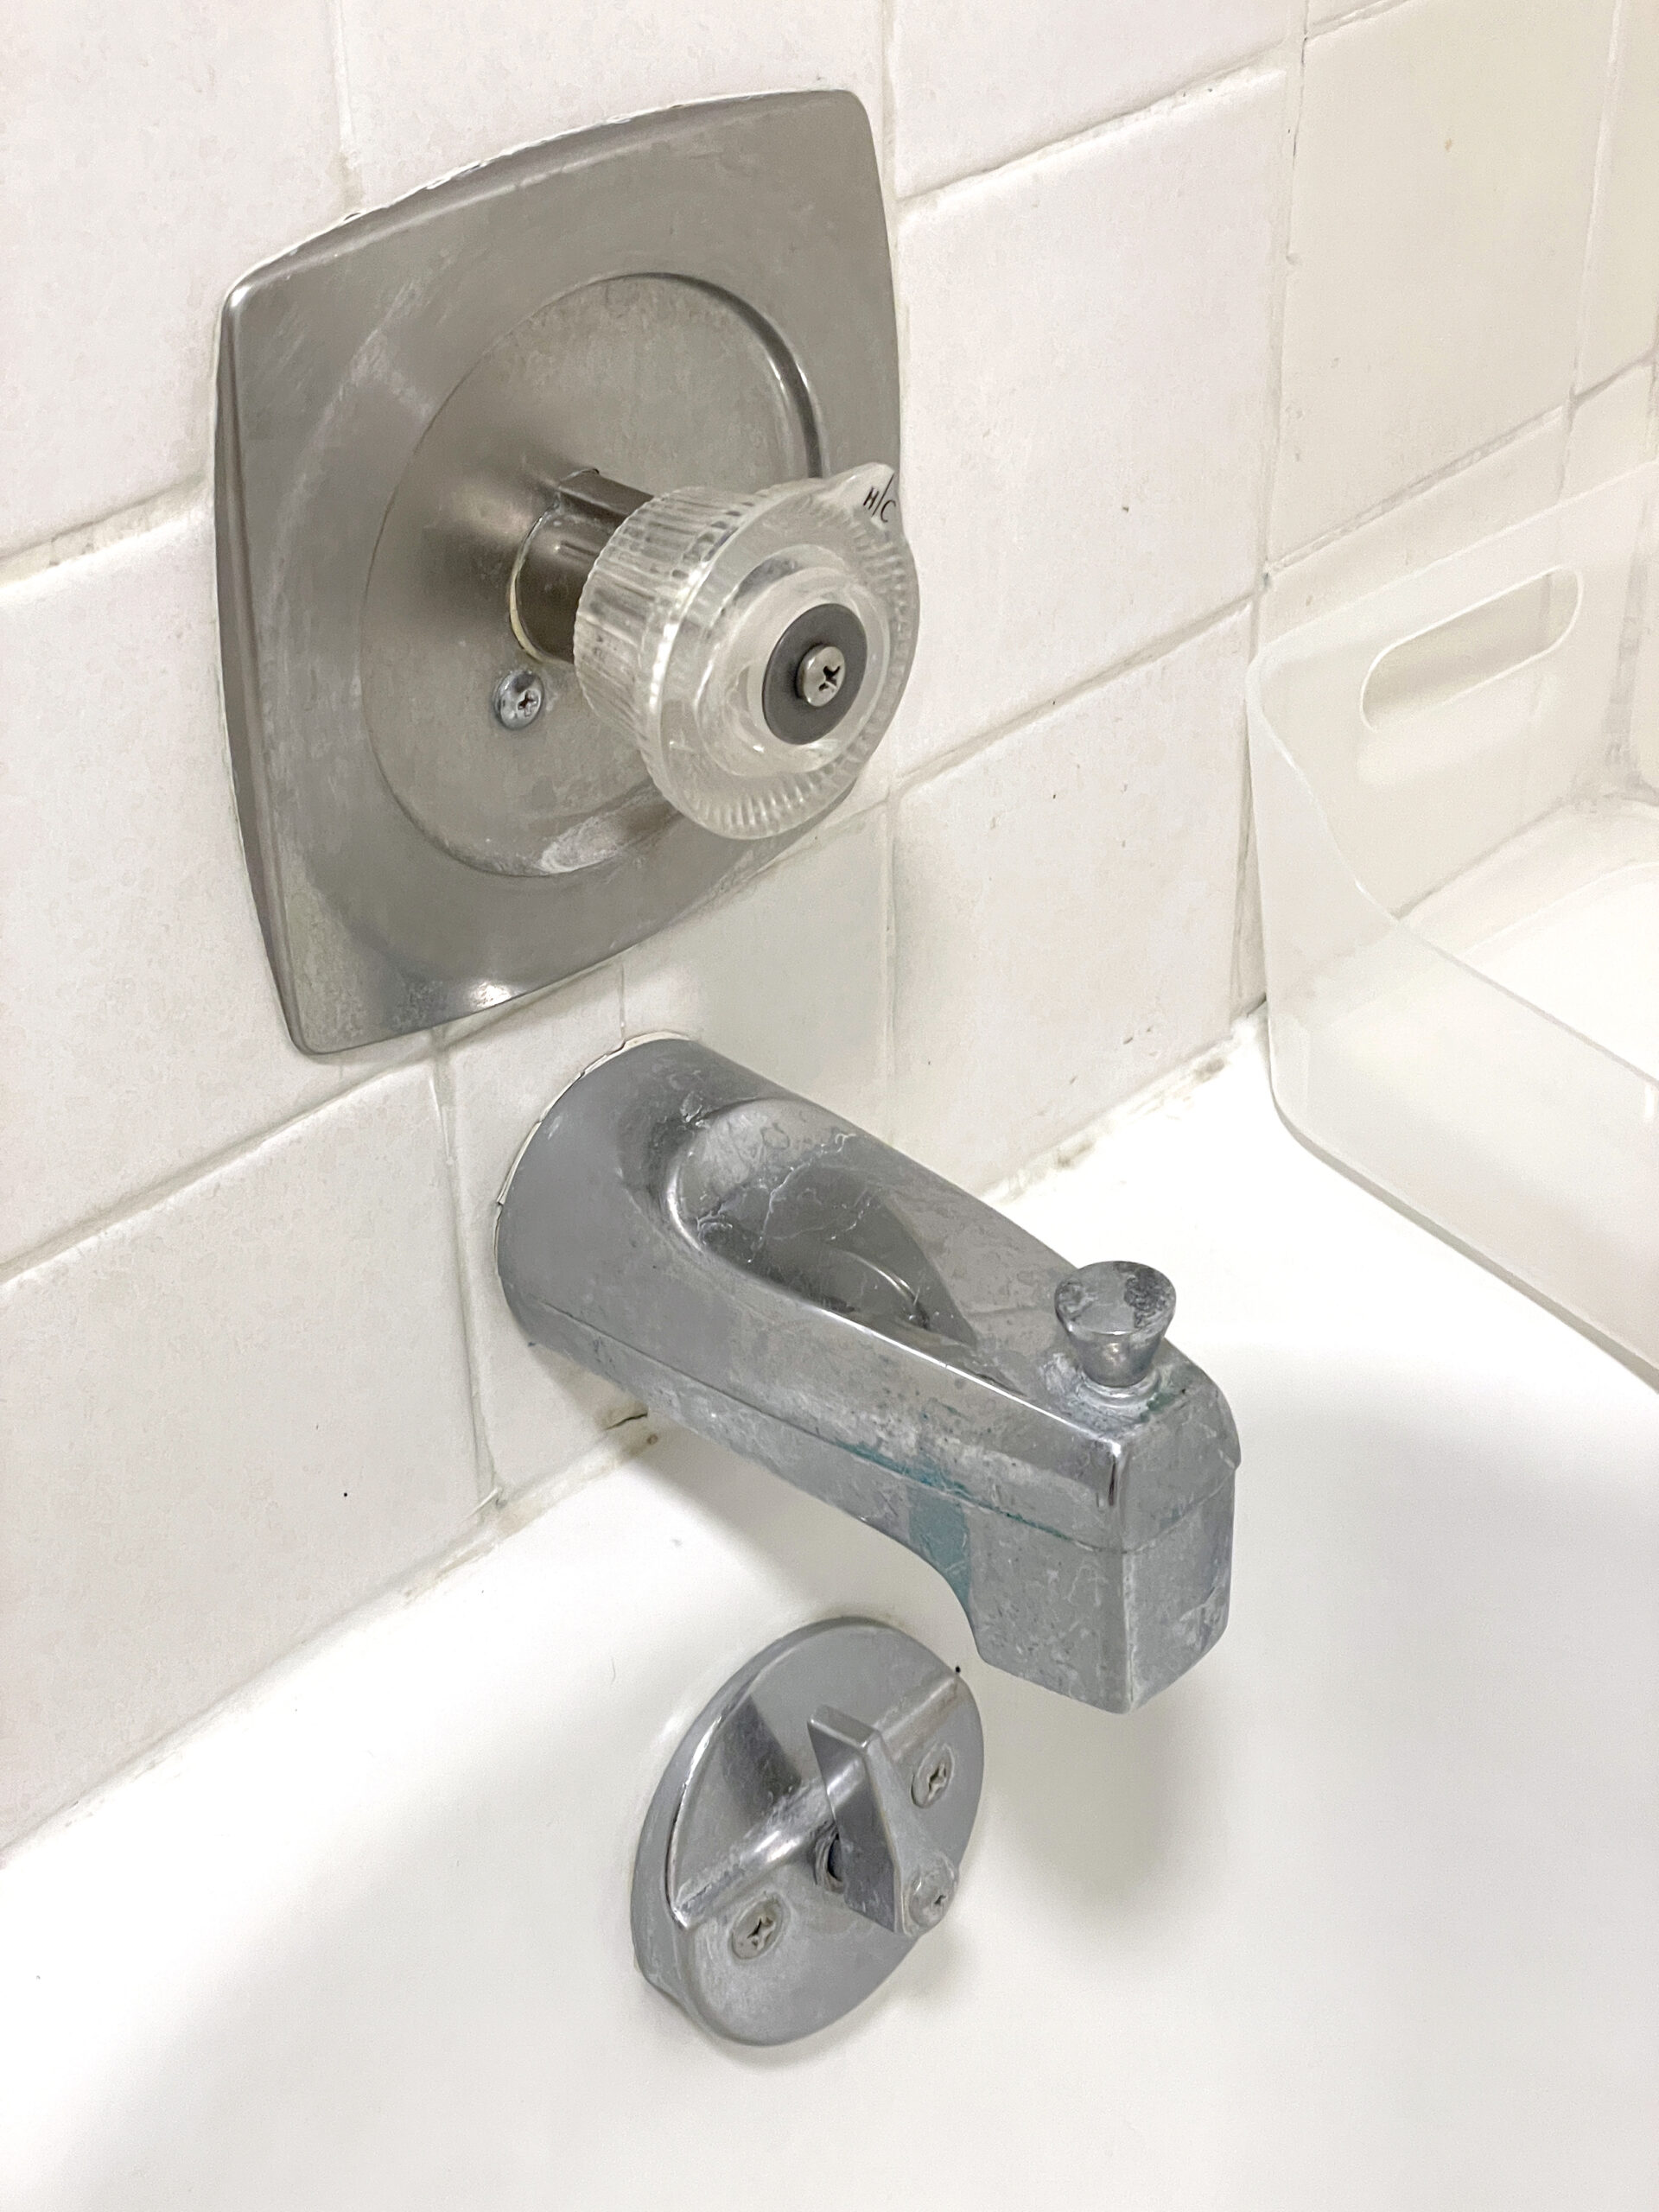
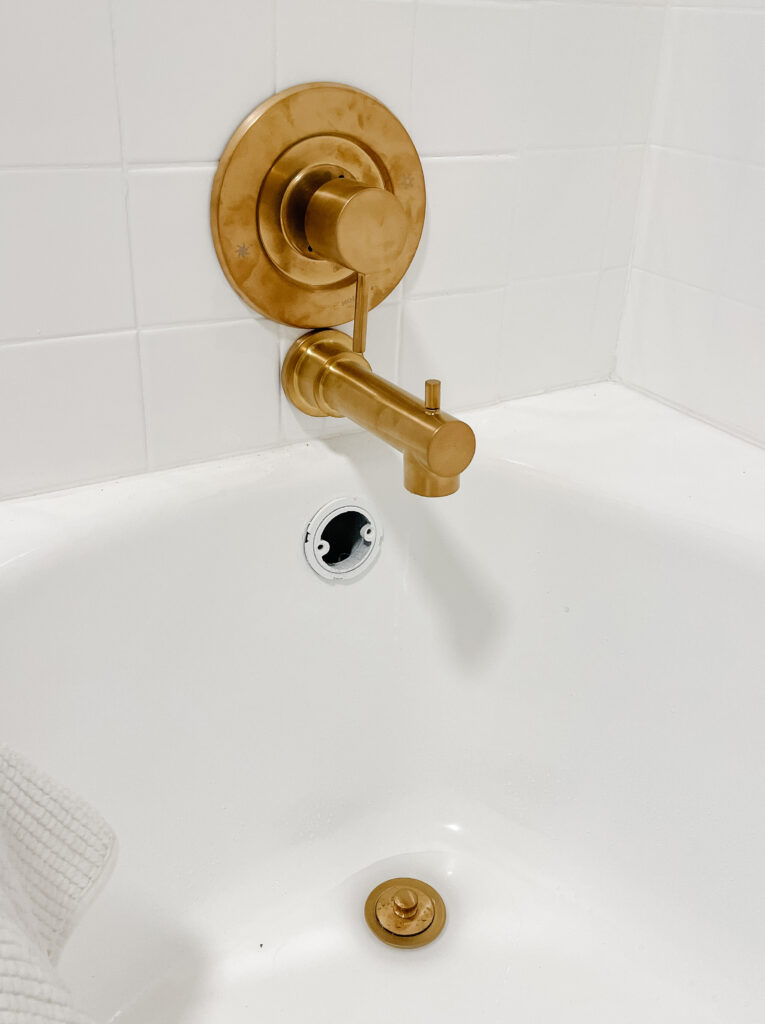
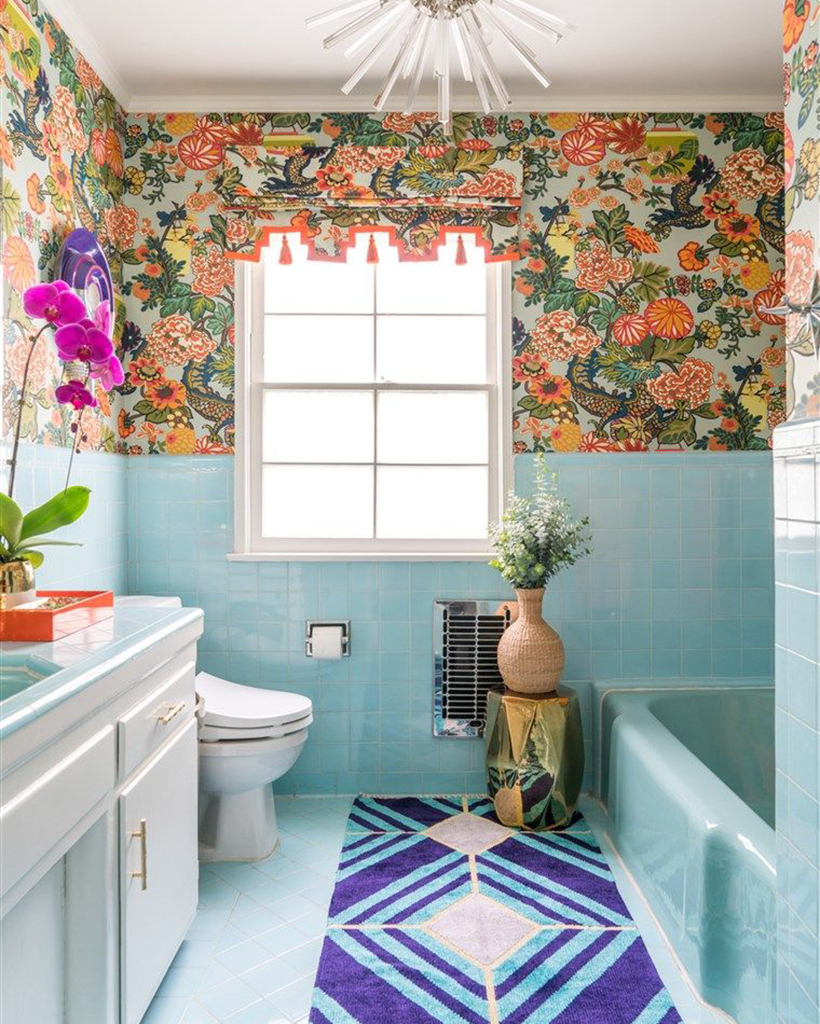
How about an update on Cecily’s bathroom? As I mentioned in the last post, a couple months ago we had the shower and tub reglazed to clean it up. The goal with this bathroom is CHEAP and CHEERFUL. In the last couple weeks my dad and I got all the tub and shower plumbing hooked up. It wasn’t easy since we were using the existing water valve and replacing the trim but after a few attempts my dad made it happen. Look at how beautiful!!! And if you’re wondering why the valve escutcheon is invading the spout’s personal space, the short answer is because we had no choice. For those of you that don’t know this, the “rough-in” valve that turns your water on/off and hot/cold, is installed in the wall behind the tile. The “valve trim”, which is the pretty part we see, only works with certain rough-in valves for each brand so it’s not as easy as just popping on a new set of jewelry. You have to remove the tile to get to it, or in some cases, you can access by opening the drywall on the back side. We have a built-in cabinet behind this shower so we didn’t want to mess with that and if we wanted to keep this project cheap, we had to not tear up the tile. The rough-in valve was the original from 1960, and needed help figuring out what would be compatible. I called up my local Ferguson Showrooms rep and she went straight to the manufacturer, Moen, who was able to look at photos and tell me that only one type of modern valve trim would work on our 60 year old plumbing. Oh, and it was being discontinued. 😱 I did some deep internet researching and found one available in brass, pressed Checkout and crossed my fingers.
When I was sharing this on Instagram, so many of you DM’d me that you went through the same thing trying to update your old bathrooms. I got very lucky that we were able to make it work, but I recommend visiting experts like those at Ferguson to guide you through this part since your whole plan could hinge on it.
Once the valve trim safely arrived, I could finish designing the rest of the room to match the pretty warm brass finish. Knowing that our current setup was still kicking after 6 decades I felt good going with Moen everything (more on that in a minute).
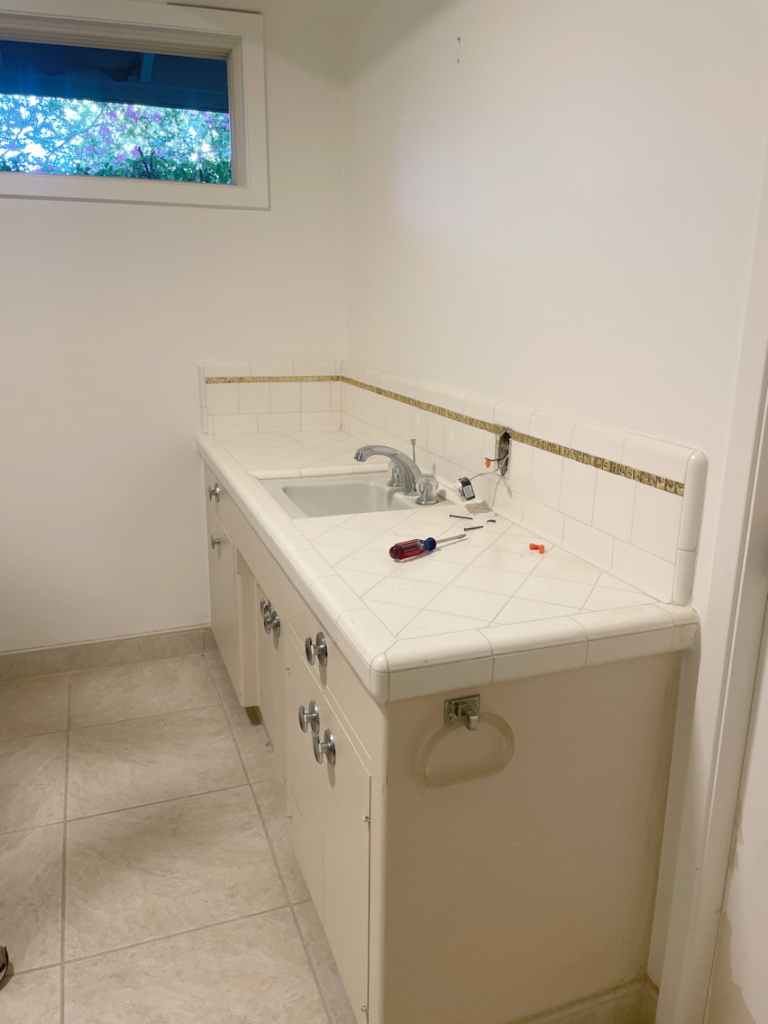
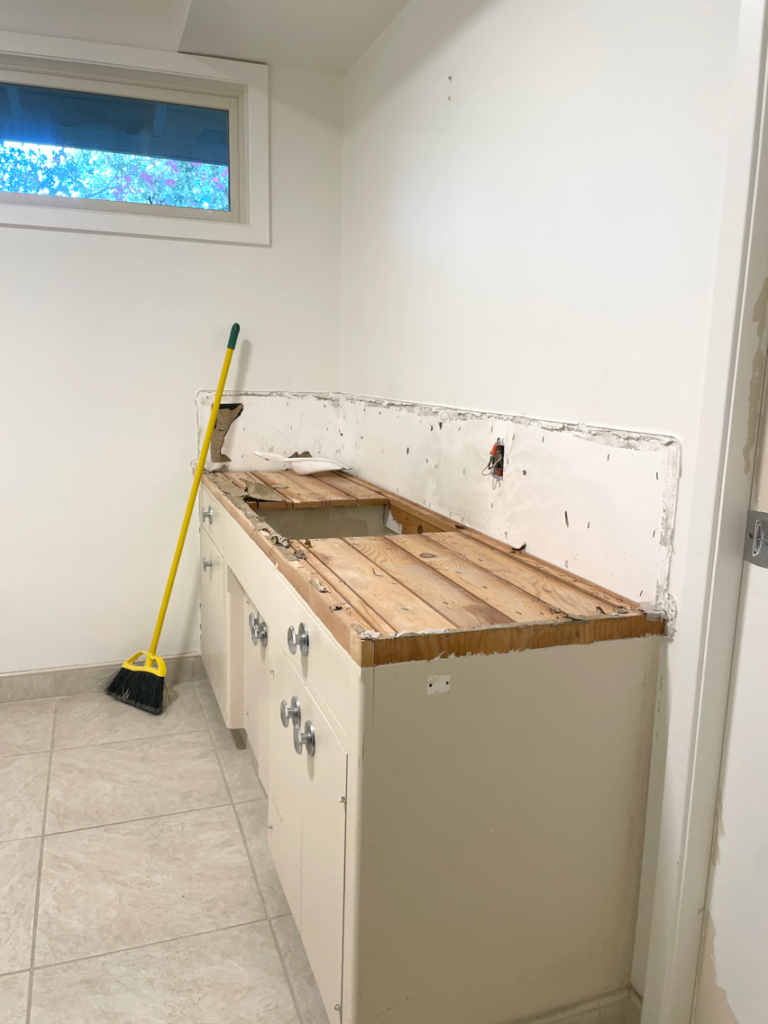
The next big hurdle was figuring out the counter. I’m keeping the vanity, already had a new sink, and needed something inexpensive but functional in here. I went to our local Granite Outlet, which is just that but also has really budget-friendly pre-fab quartz. That means it’s already cut down to counter depth and finished on 2 sides. You choose the length from what they have in stock, which is btw, not much at the moment. From there select left or right (in my case, I wanted the right edge finished), and the installers will cut the length, sink hole and faucets holes. This time I actually scheduled the installation from Granite Outlet directly and we will need to have new plywood down and do the plumbing hookups ourselves. That happens next week!’
Inspiration
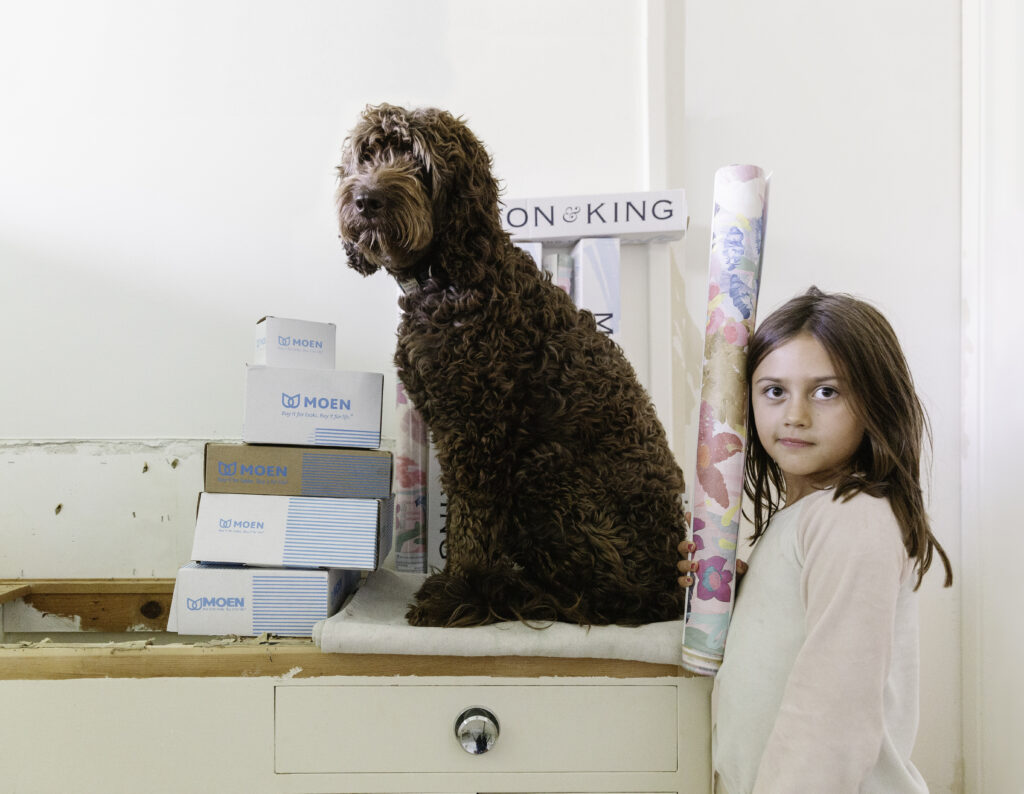
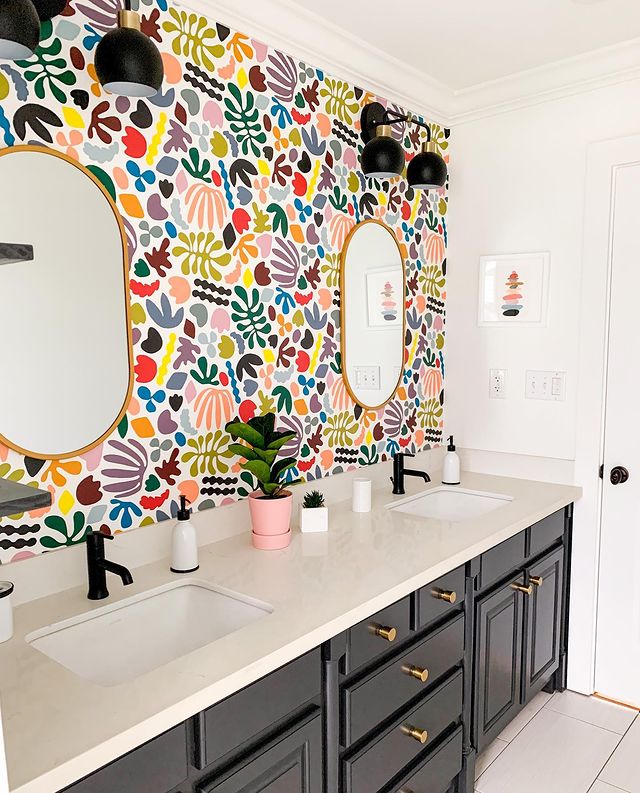
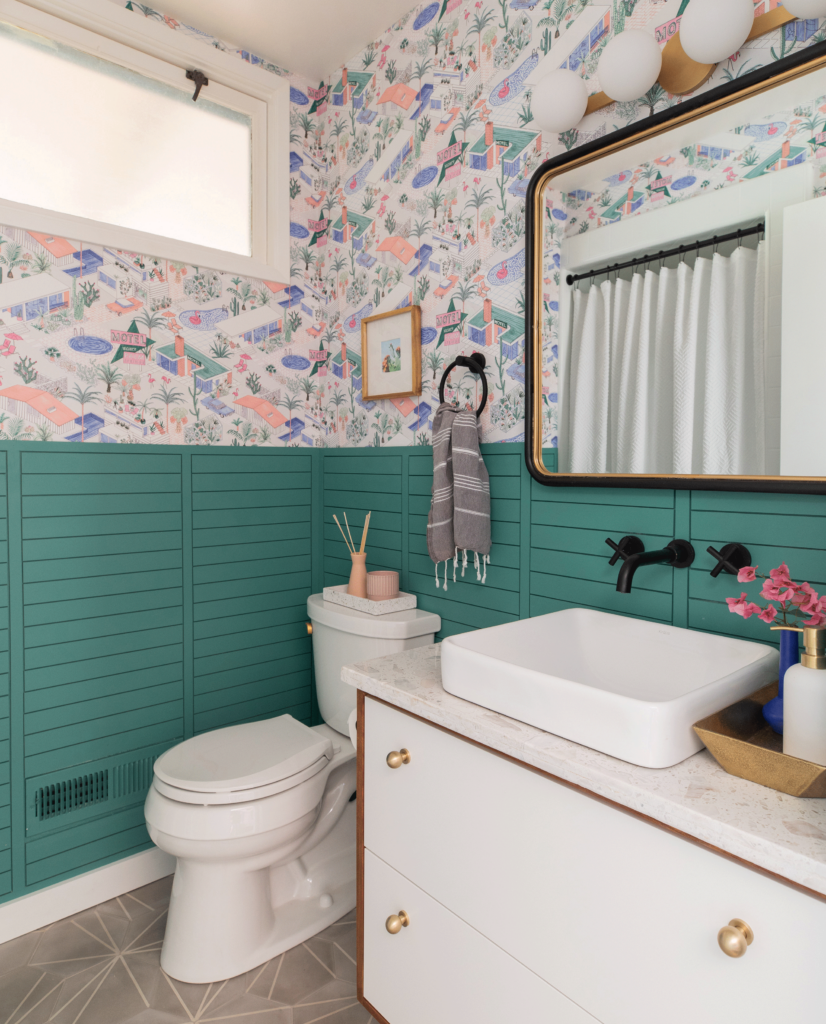
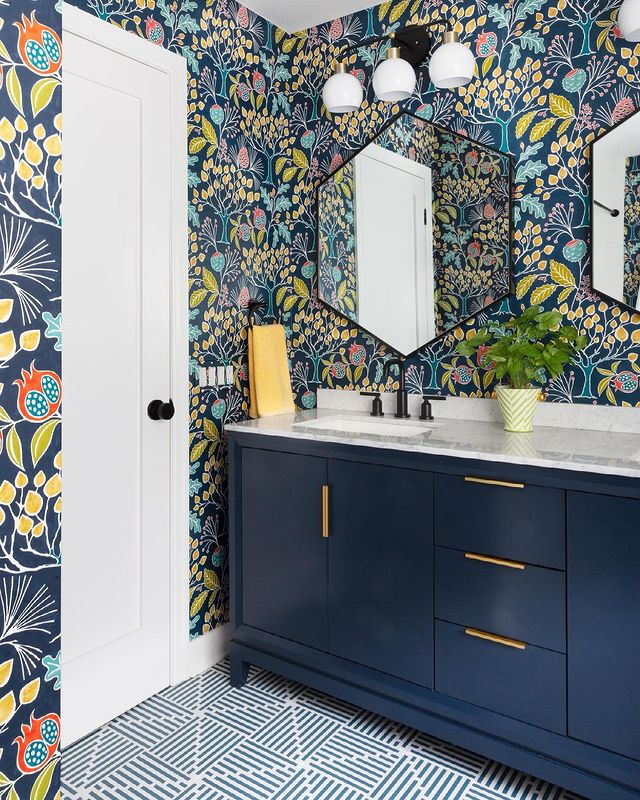
On to the room design! As mentioned, I’m keeping the old vanity, which will be cute once painted and really want to distract from everything else with a really bold wallpaper. Now that I’ve done wallpaper in a few rooms in our house, I’m addicted. We worked with Milton & King in both of our other bathrooms (guest, primary), so it only seemed right to have our kids bathroom get to dress up in M&K too. I was really inspired with SUPER bold florals paired with saturated paint, and knew that’s the treatment I’d use in this space.
- Nicole B Design
- Tie into existing project in our house
- The Rath Project
- Carrie Hayward Design

Since my client is an opinionated 6 year old, and I really need her to use this bathroom (and stay out of ours,) I got her involved in the selection process early on. I knew she’d have thoughts on the wallpaper so I gave her some options
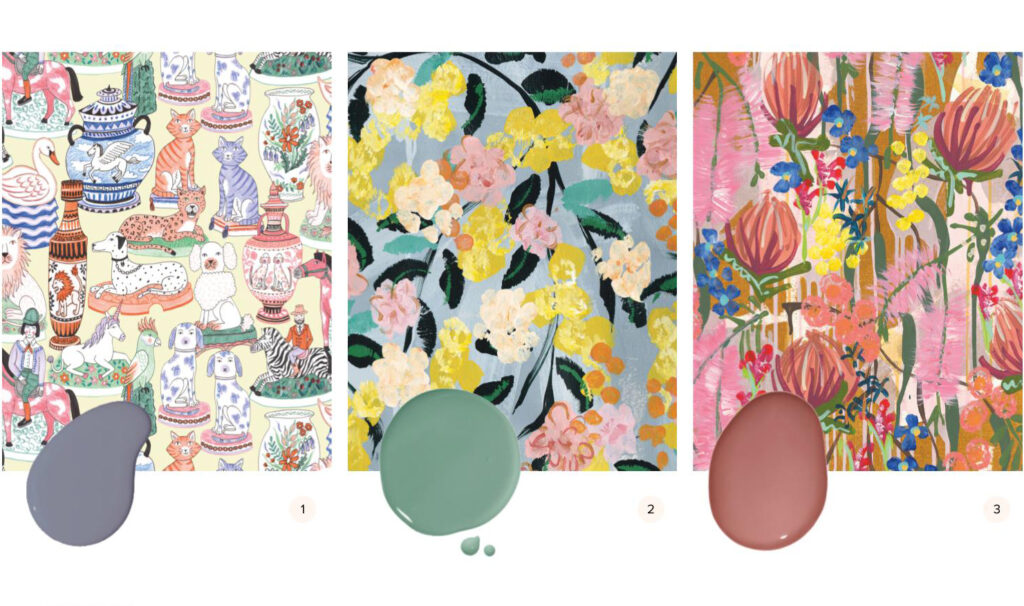
- I love this Ceramics Wallpaper by Jacqueline Colley, the same Illustrator who designed our guest bath pattern.
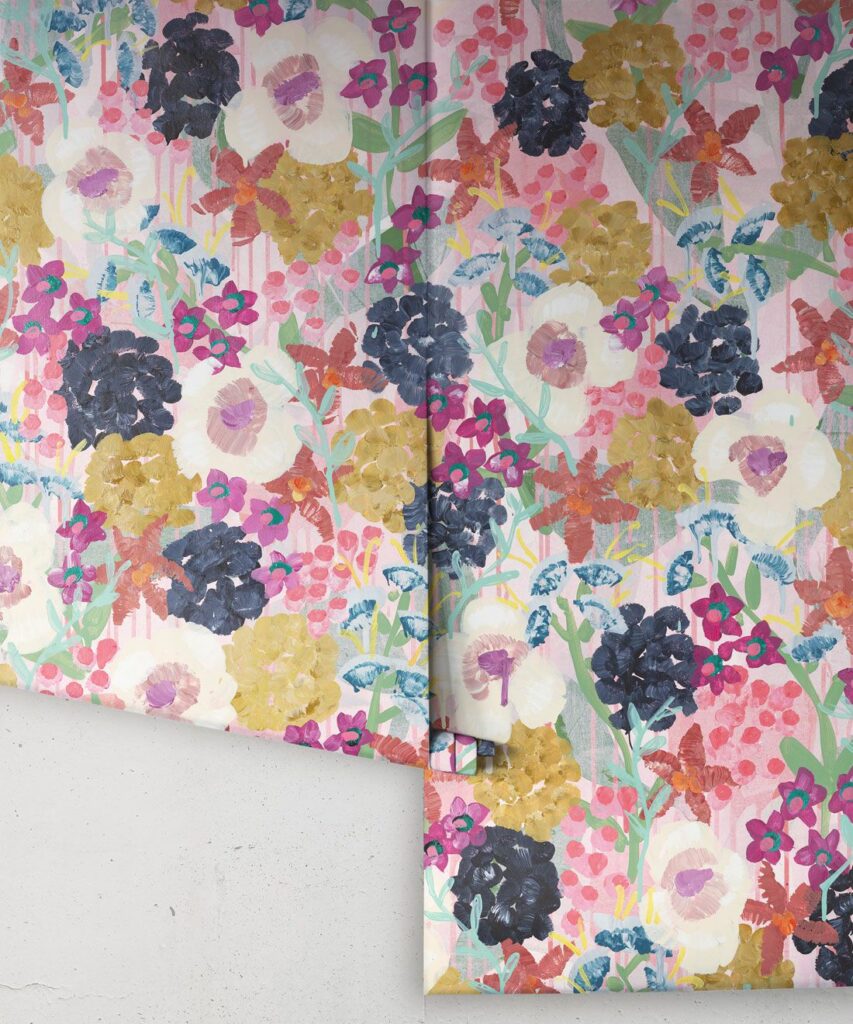
- Then I saw the Tiff Manuel collaboration and loved the colors in this Blossom pattern.
- Another pattern by Tiff Manuel that I fell in love with was this Acacia wallpaper.
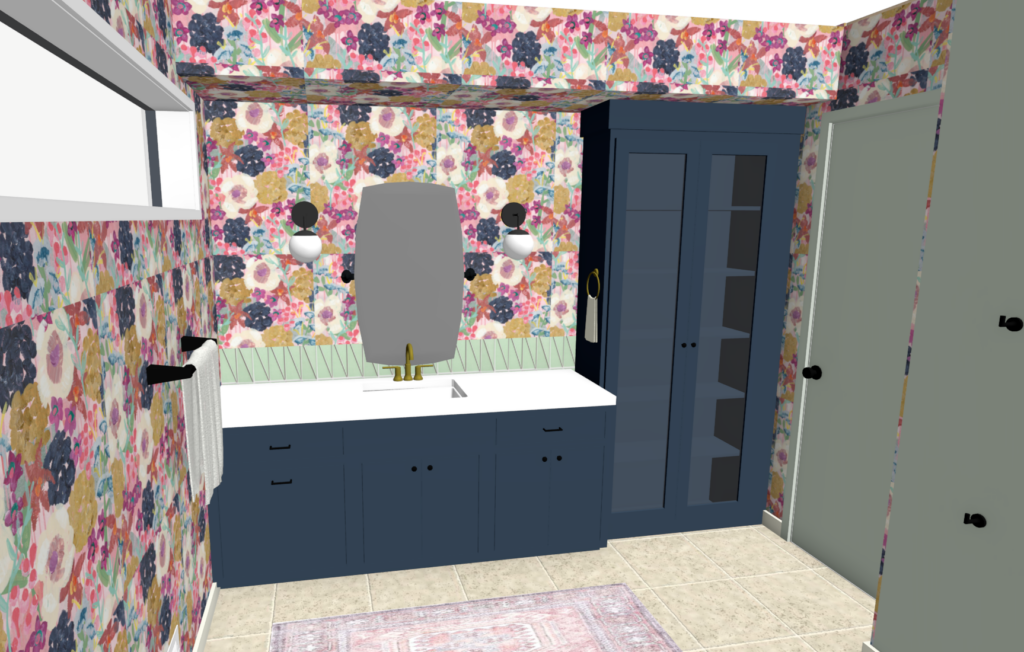
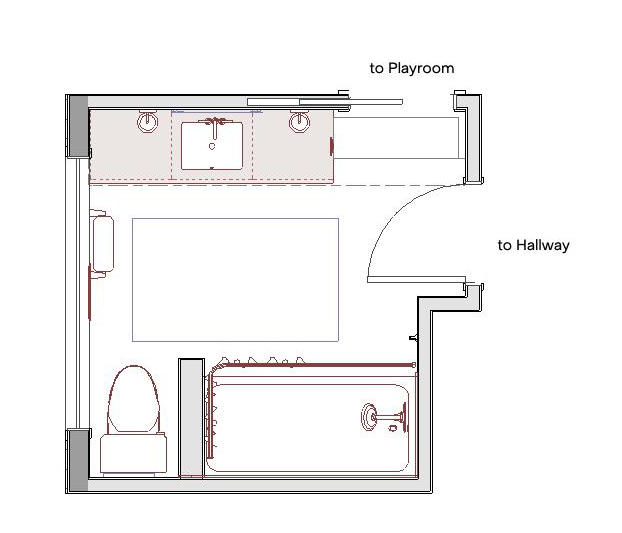
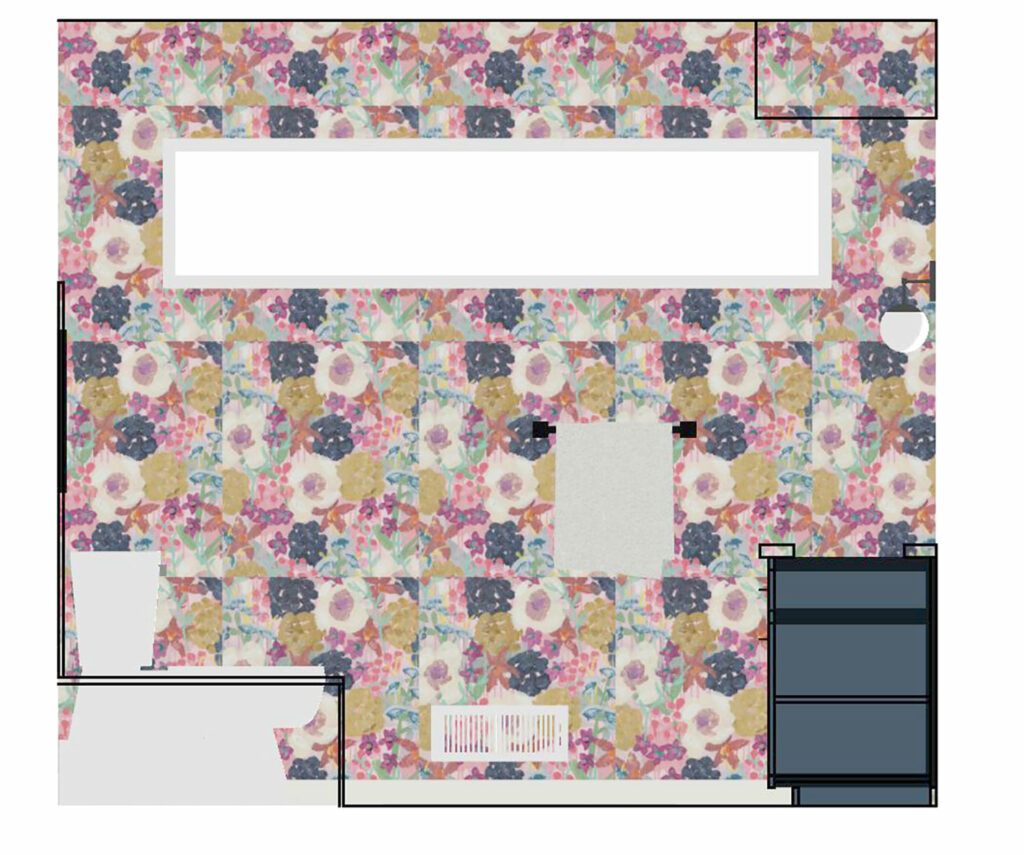
And here is a fun rendering of where we’re headed. You can see that one of the main changes we’re making is to close off the pocket door. It leads to the playroom and it takes up way too much wall space that we need in both rooms. Eventually we may permanently close it up but for now I found this cabinet that fits the space and will give us more storage in the meantime. The cabinet is already blue, so I took a shelf in to Sherwin Williams and got it color matched so we can paint the vanity and cabinet trim the same color. Fingers crossed it looks ok!
ELEVATIONS
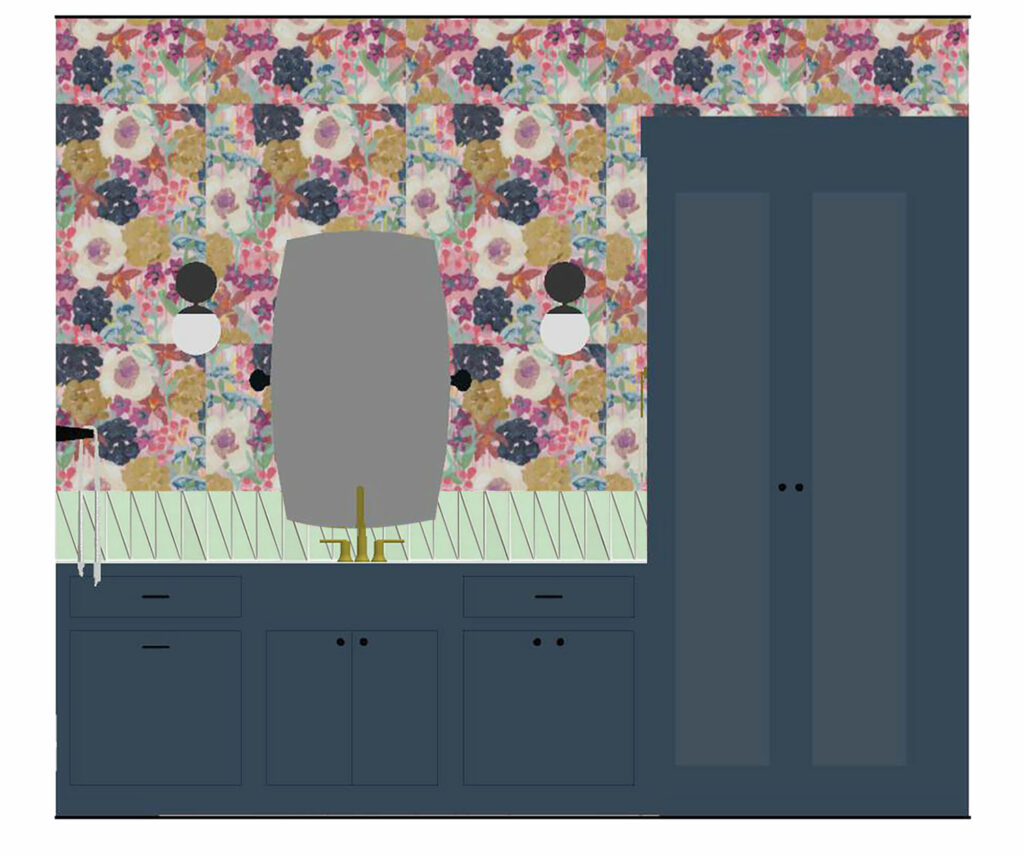
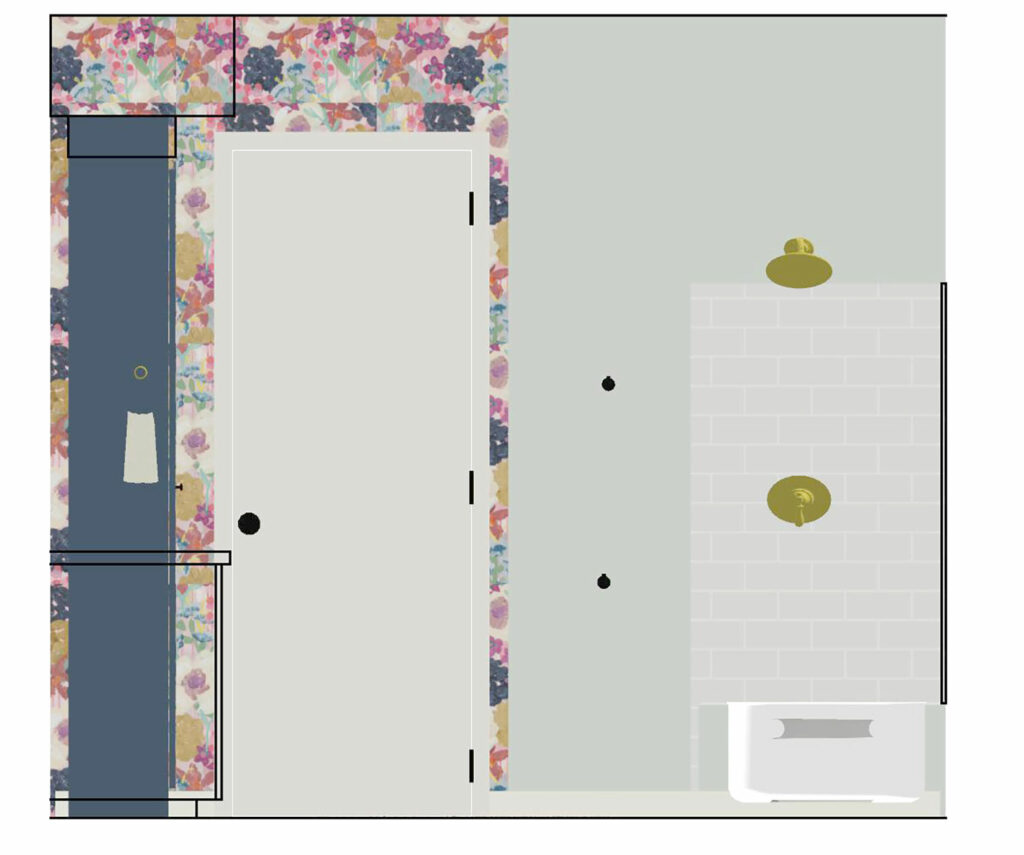
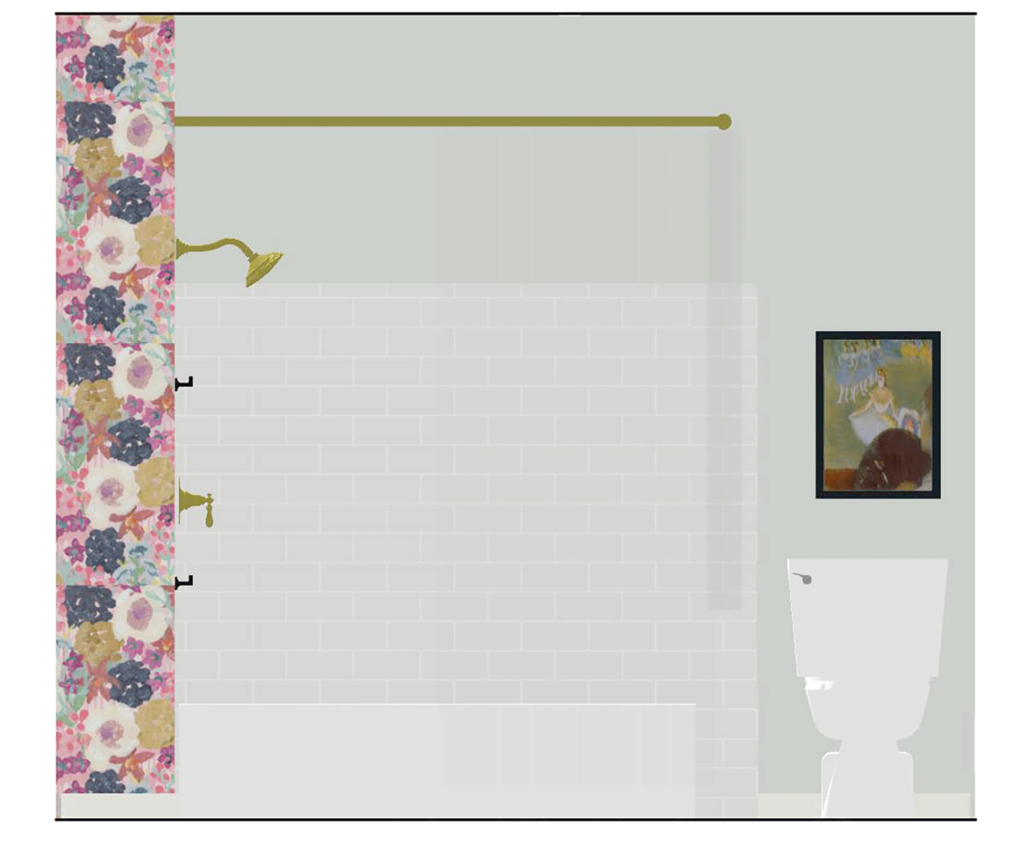
Here are all of the selections mocked up together and linked below. We’re going to really start making headway in the coming week so be sure to follow on Instagram!
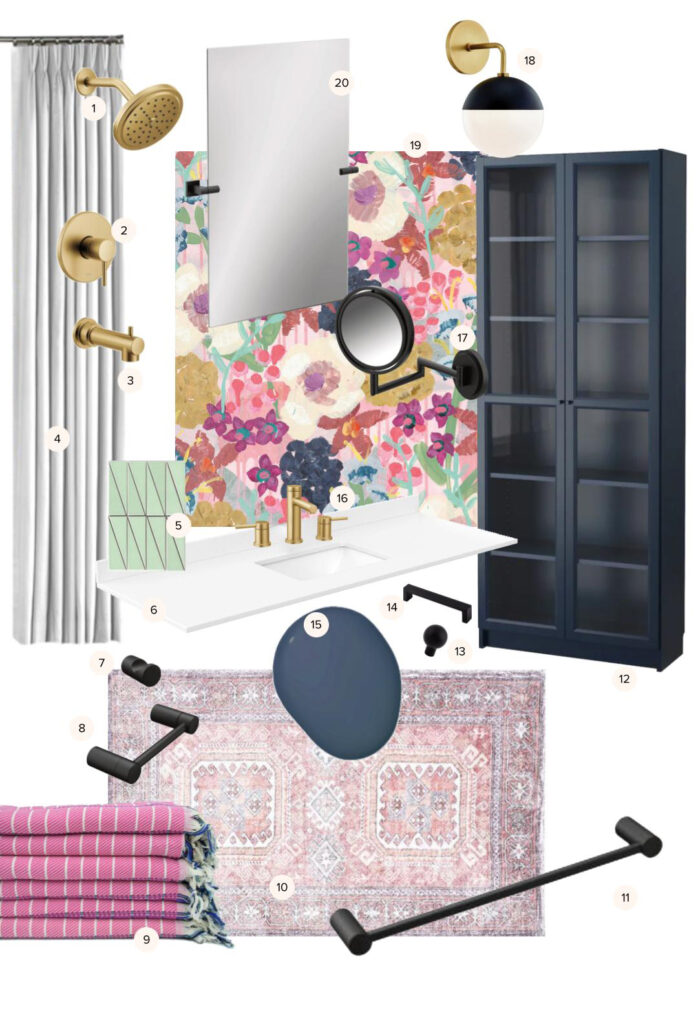
- Shower head, Shower arm, Shower arm flange*
- Shower Valve trim*
- Tub spout*
- Shower curtain hack
- Backsplash tile
- Quartz countertop
- Robe hook*
- Toilet paper holder*
- Turkish towels
- Rug
- Towel bar*
- Bookcase
- Cabinet knobs*
- Cabinet pulls *
- Paint, custom match
- Faucet, Sink*
- Makeup mirror*
- Sconces
- Wall mirror*
- Wallpaper, from Milton & King*
To DO LIST
- Reglaze shower & tub
- Demo vanity counter & backsplash
- Bath & shower plumbing
- Paint vanity
- Install countertop
- Replace sink
- Replace sink faucet
- Hang wallpaper
- New lighting
- Install tall storage & trim
- Wall mirror
- Modify shower curtain
- Replace cabinet hardware
- Replace bath hardware
- Style & accessories
* Gifted by our generous sponsors in exchange for promotion. All opinions are my own.