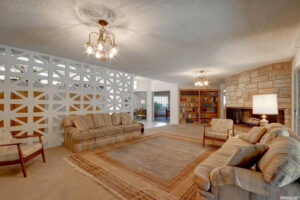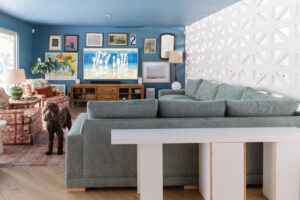
Hi! I’m Rebecca designer and founder of Studio Plumb. In January 2017 we became the second owners of the #plumbmidmod, a one-of-a-kind 1960 midcentury ranch on .8 of an acre outside of Sacramento, California. It has unique original architectural details, a creek running through the yard, and a perfect floorplan. It also needs a sh!#t ton of work. Bit by bit with the help of my dear old dad we’re bringing it back to its former glory with a modern spin.
Catch up on the past few weeks
This is a combo Week 4-5 post because all the action is coming at the end.
You’ve seen that we have a big, cozy sectional which is deep and luxurious but makes it a little difficult to reach your beverage of choice on the coffee table. In the old setup we had a sofa table sandwiched against the wall but it was a couple shelves balanced on some stands. It was never meant to be permanent but it never officially broke, so we never officially fixed it. You can see it in the photo below with the baskets precariiously balanced on it.
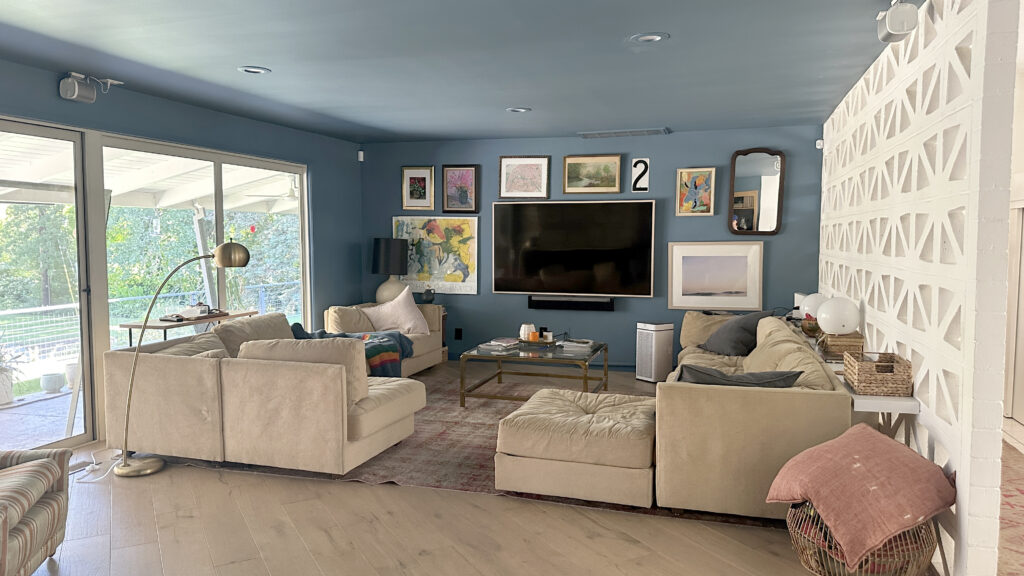
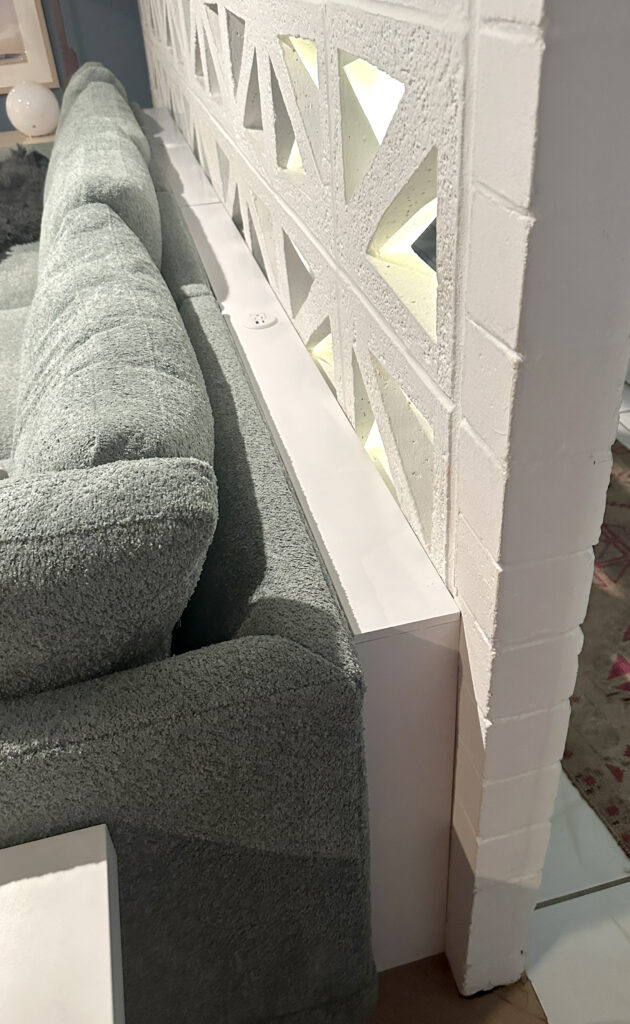
I still loved the function, but our new sectional juts into the room more so I wanted to recreate a narrower, more intentional version, but this time with added power outlets.
If you’ve been following past challenges, you know my dad has been a major part of them. He was the mastermind and lead behind a lot of the past builds, but after Fall 2020 nearly killed him, he’s taken a much less active role in home projects. He’s doing great but does not need to be involved in heavy labor these days. But, since he is a crowd favorite I asked him if he could come out of retirement for one small little job. 😉
The sofa table needed to be over 10 feet long and under 6″ deep so it had to be custom. The plan was to just make 2 simple U-shaped tables out of MDF baseboard moulding. Its not super sturdy on its own, but since this is pressed tightly between the wall and our very heavy new sectional, its totally fine.
The best part? I asked my dad to take pictures of his process since I couldn’t be there and he sent me an album of the cutest influencer photos I’ve ever seen. 😂
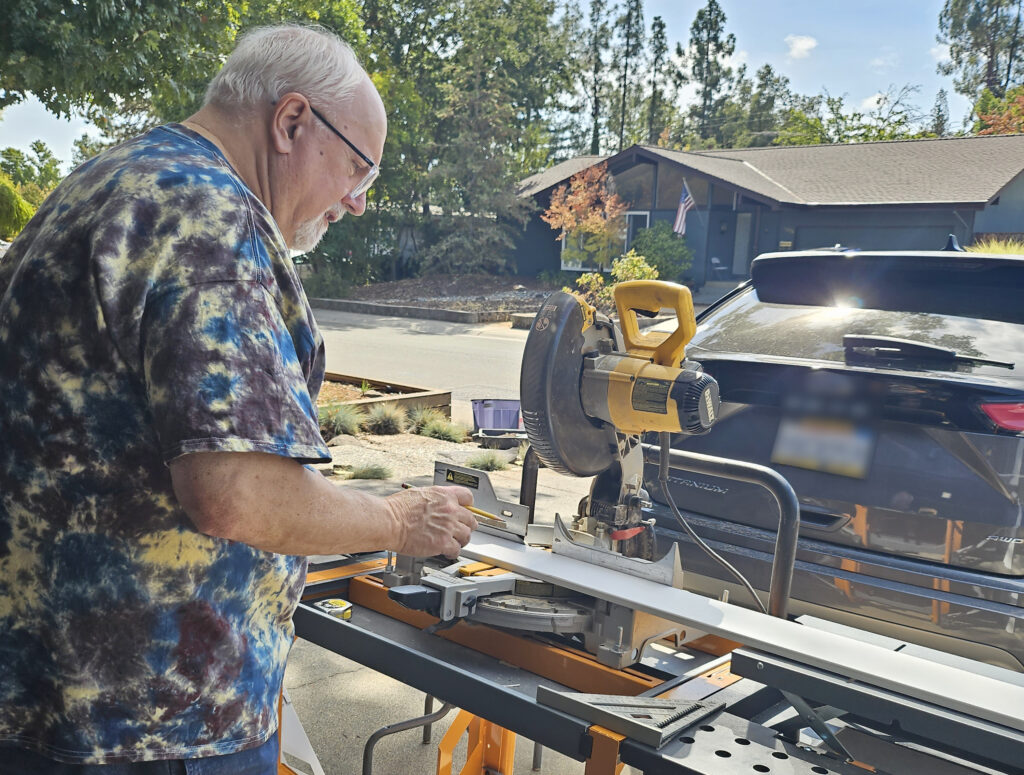
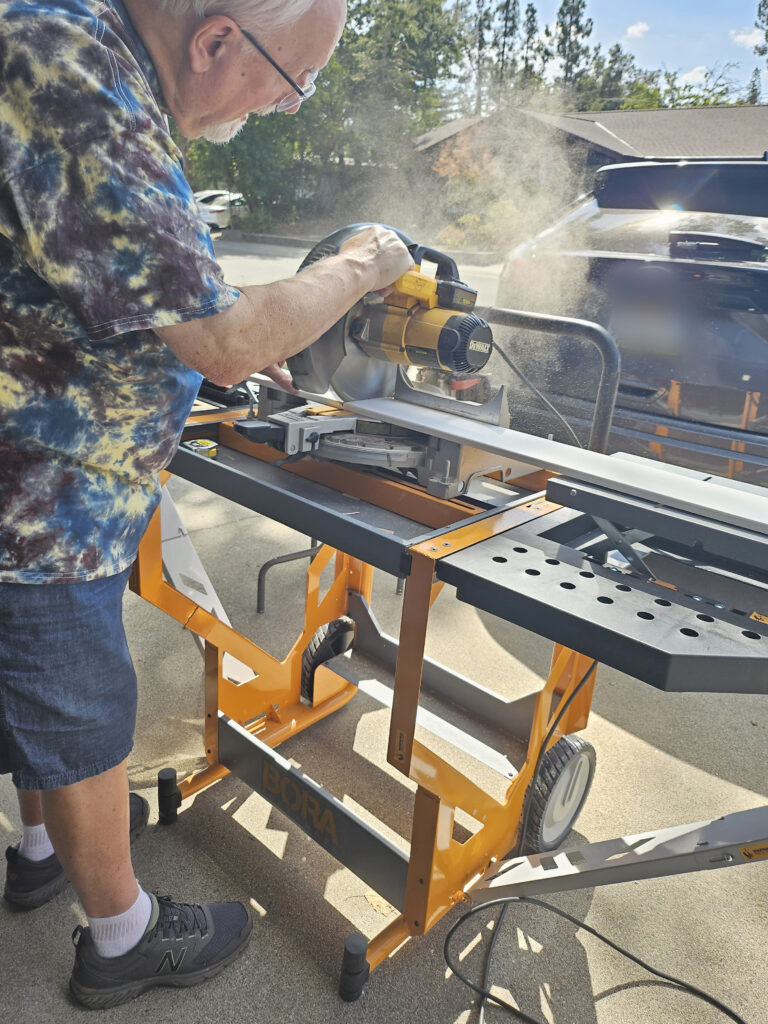
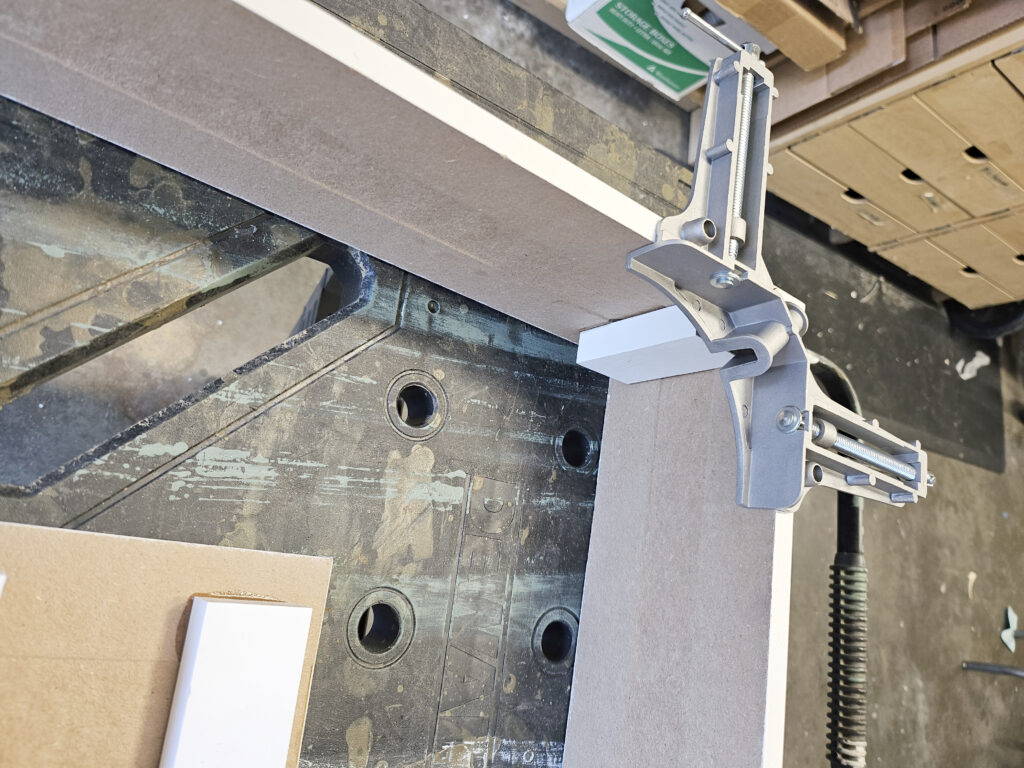
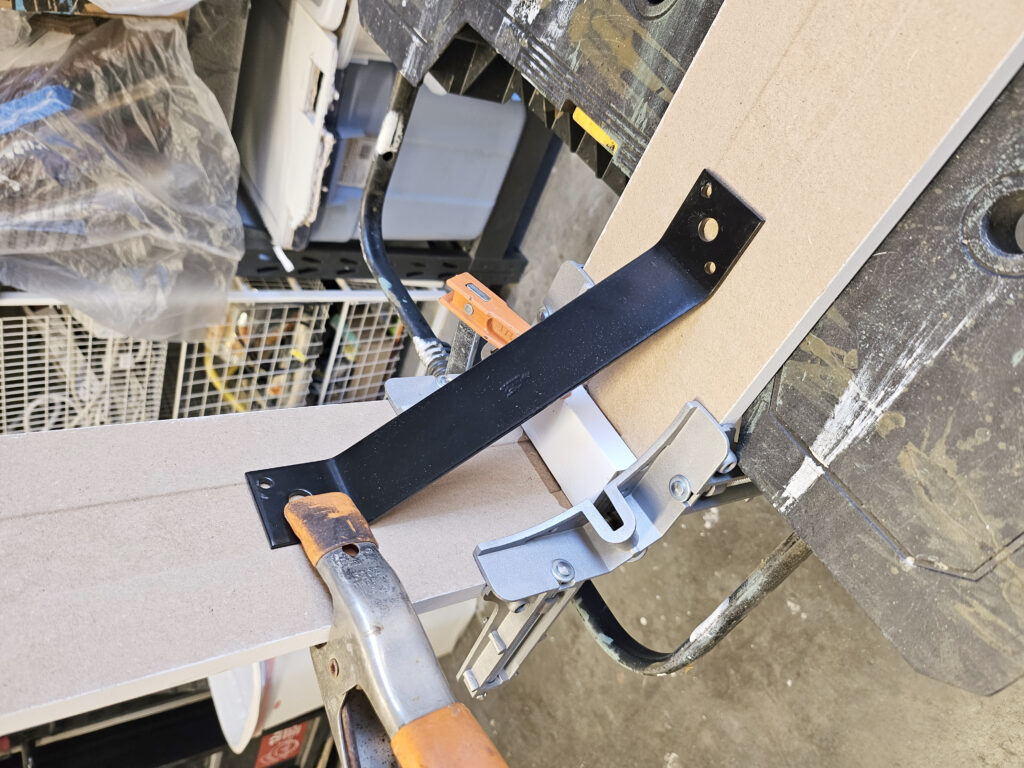
Once he cut the pieces, he clamped the corners with a spacing block and added an inside angled bracket for more support.
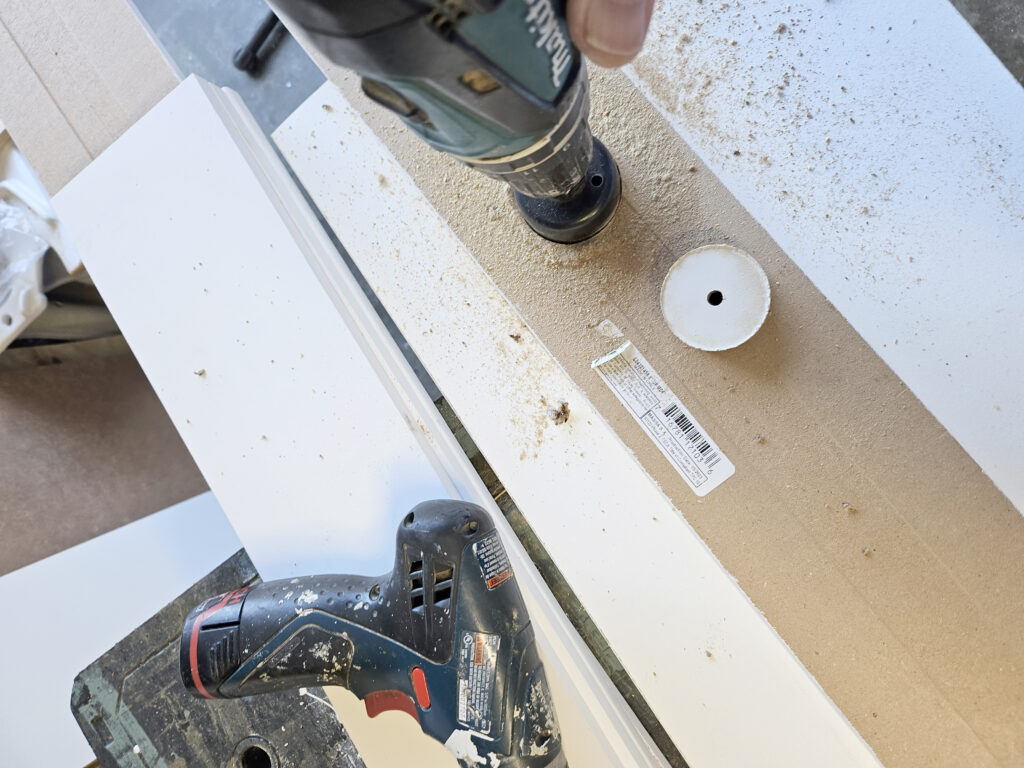
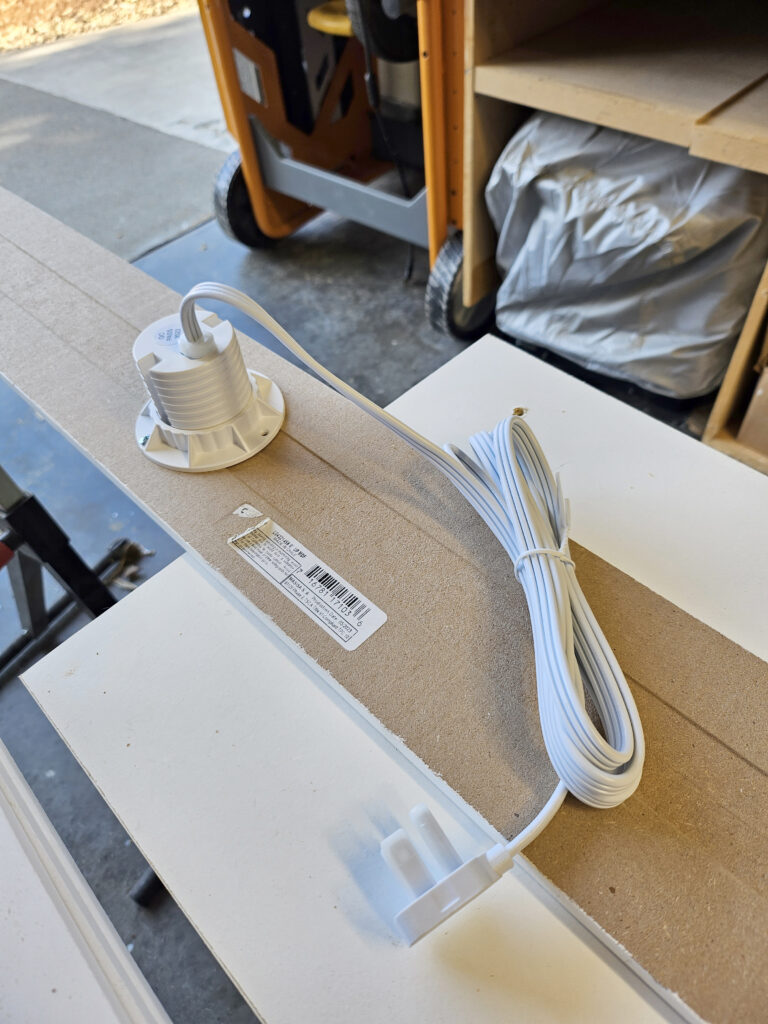
Next he drilled holes for the power outlets. To keep things minimal I bought a couple of 2″ desktop outlets and he added one to each end. Luckily we have a floor outlet underneath this area so they plug right into that.
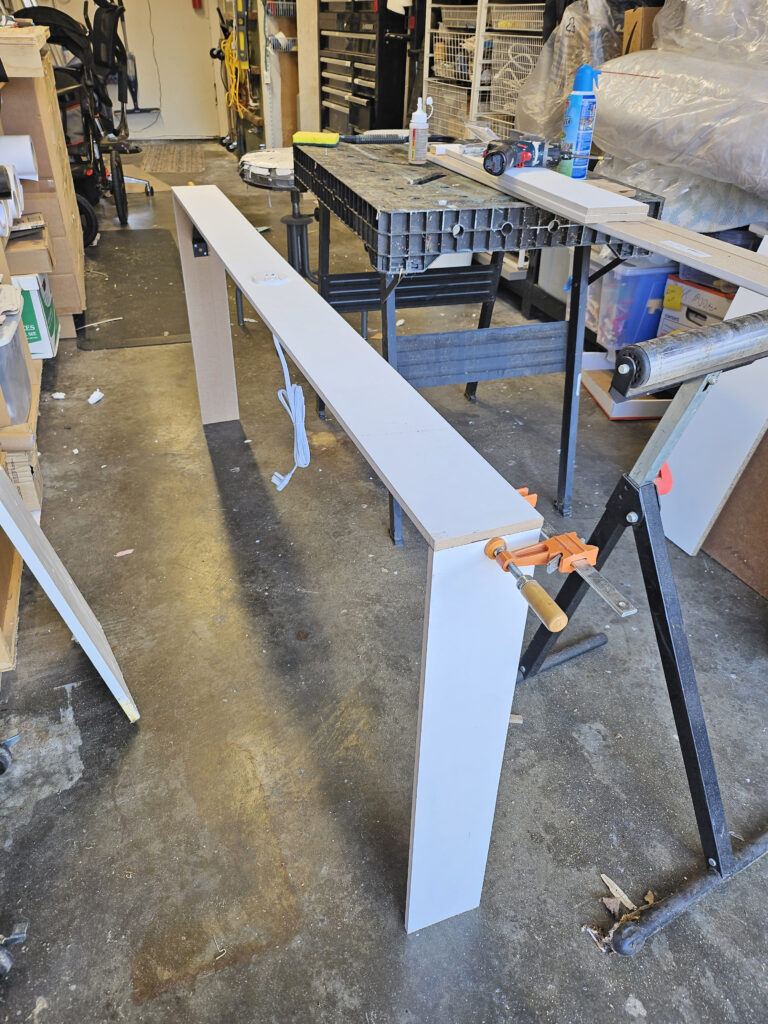
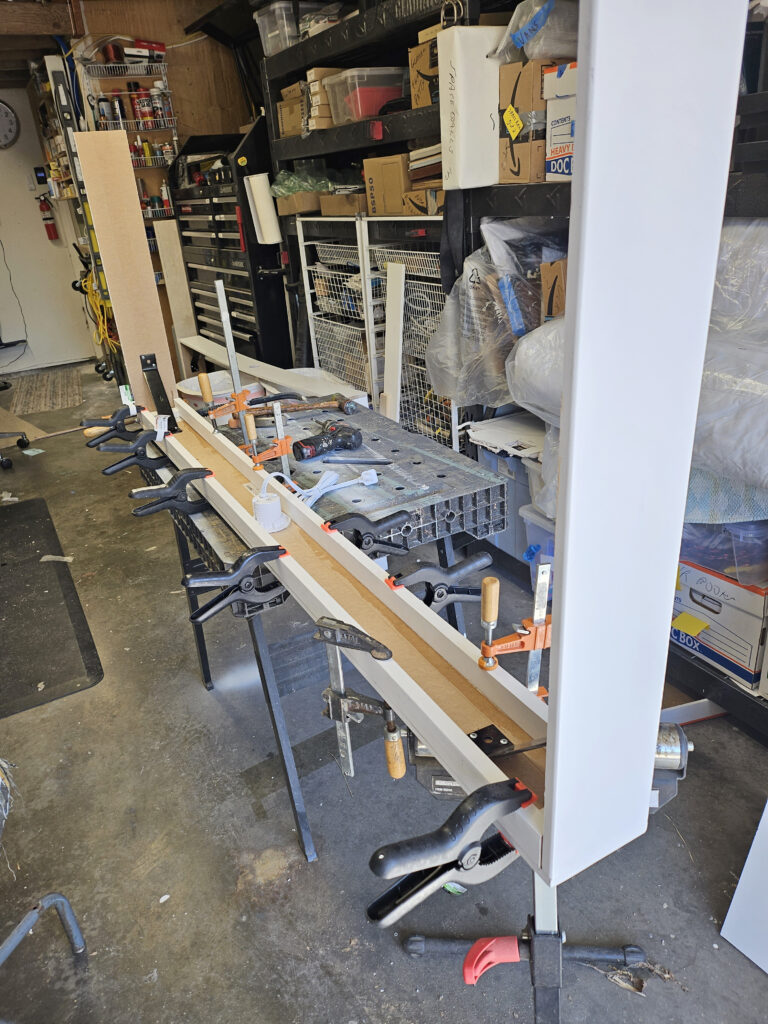
He then added a couple narrow trim pieces along the sides to keep the top from bowing and add more support.
DONE!
Here’s how it looks installed! Its super minimal and hardly noticable, but holds a wine glass and remote control perfectly. I love having these built in outlets, we were always running out of places to plug things in and fighting over spots to charge iPads and phones.
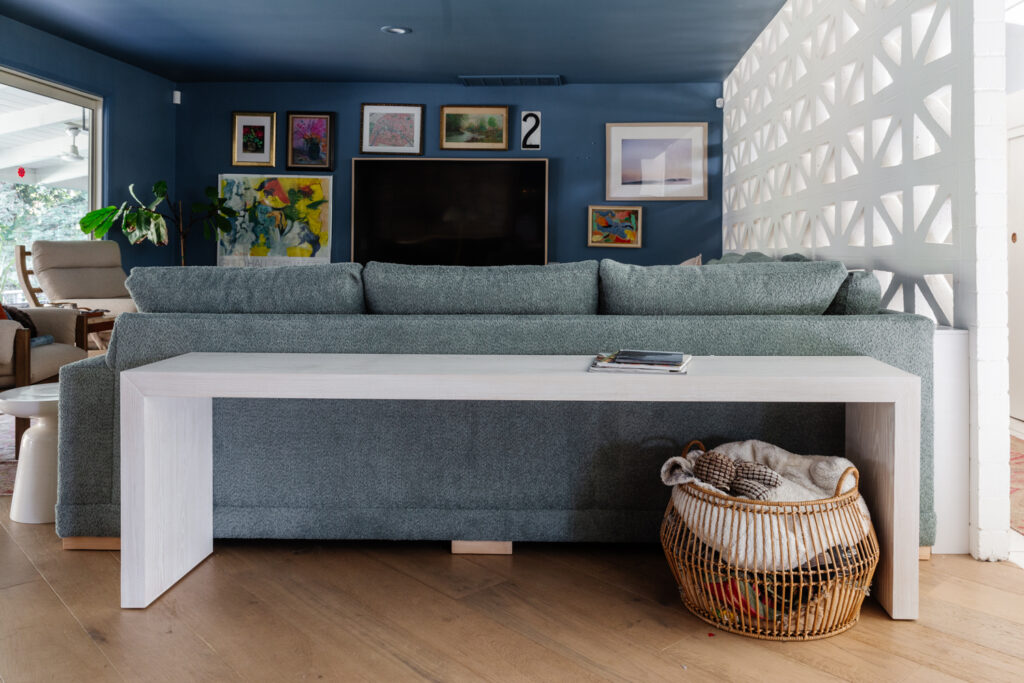
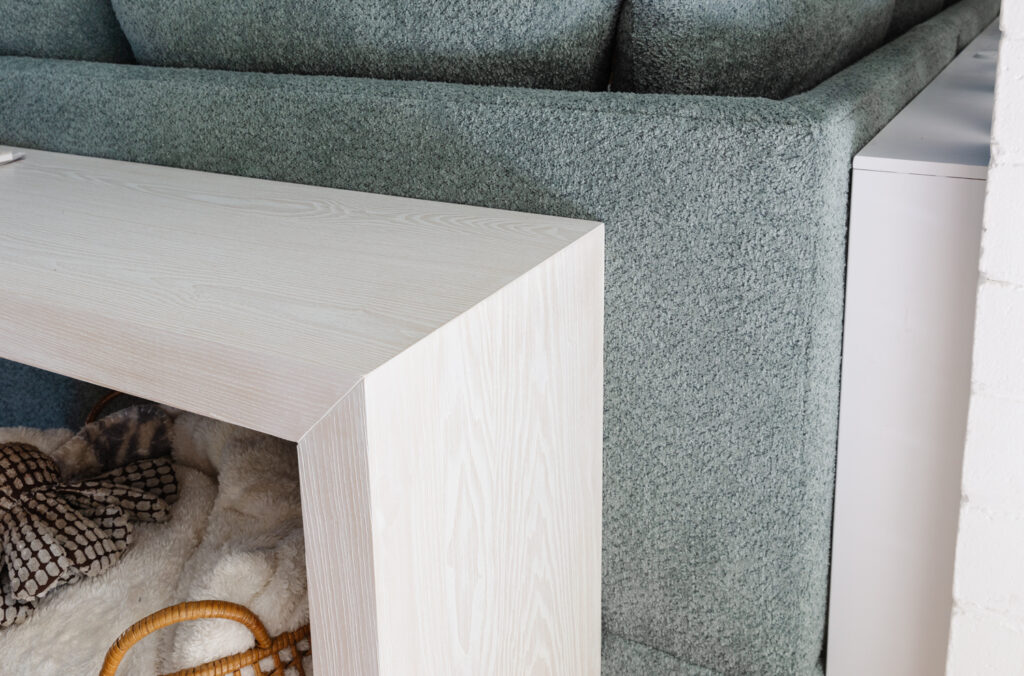
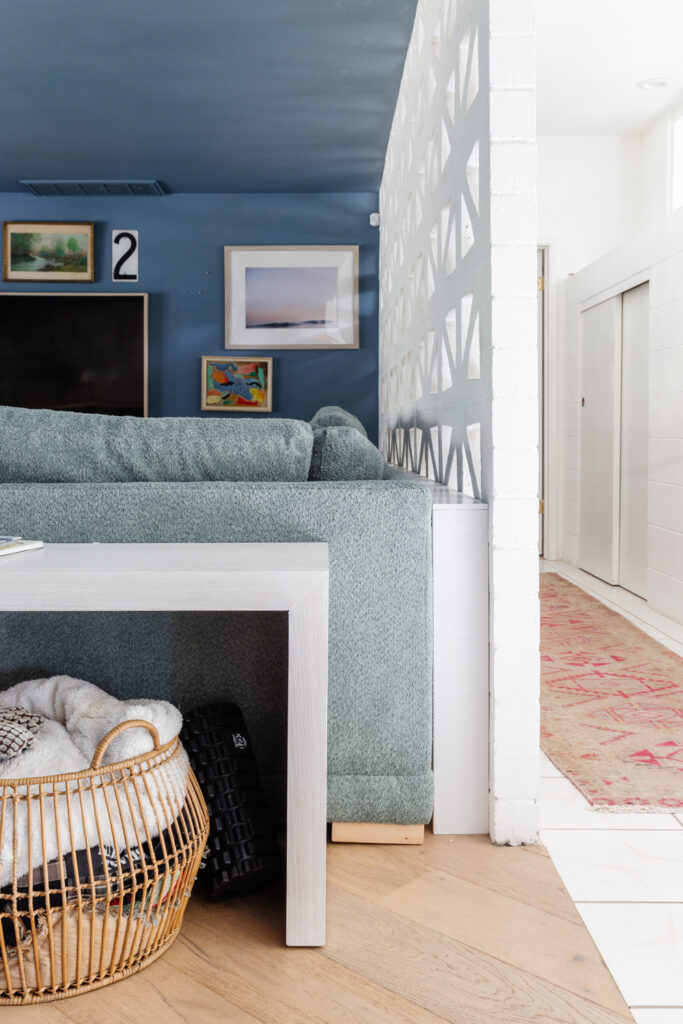
I also wanted a decorative console to go behind the floating side of the sofa. Its the first thing you see when you walk into the room. I wanted another styling opportunity as well as a “safe” place for Cecily to eat on movie nights and draw. I found this one and it was the exact length and low height i was looking for so I immediately ordered it. It has a cerused finish which gives it some texture and contrast behind the sofa.
Things are coming along and will have lots more updates in the coming weeks! I have ordered the drapery panels and waiting for them to come in any day to install but that will be a whole other post along with lighting and the fireplace. 🙂
FAMILY Room
- New sectional
- Order drapery
- Install drapery
- New media console
- Install light fixtures
- Build skinny sofa table
- Source accent tables
- Hang art
- Source accent chairs
- Style!
FIREPLACe / ENTRY
- Demo existing tile hearth
- Install tile hearth
- Wallpaper bookcase
- Restyle bookcase
- Select plants for planter box
- Replace entry chandelier
I’ve found so much inspiration from fellow participants. Be sure to read all the posts from all the rooms here! Thank you to Linda and the One Room Challenge team for all their hard work making this event run smoothly. And more thanks to Apartment Therapy, this season’s media partner, who are covering the event.
I’ll be updating the blog weekly, but follow along on Instagram for more behind-the-scenes progress!


