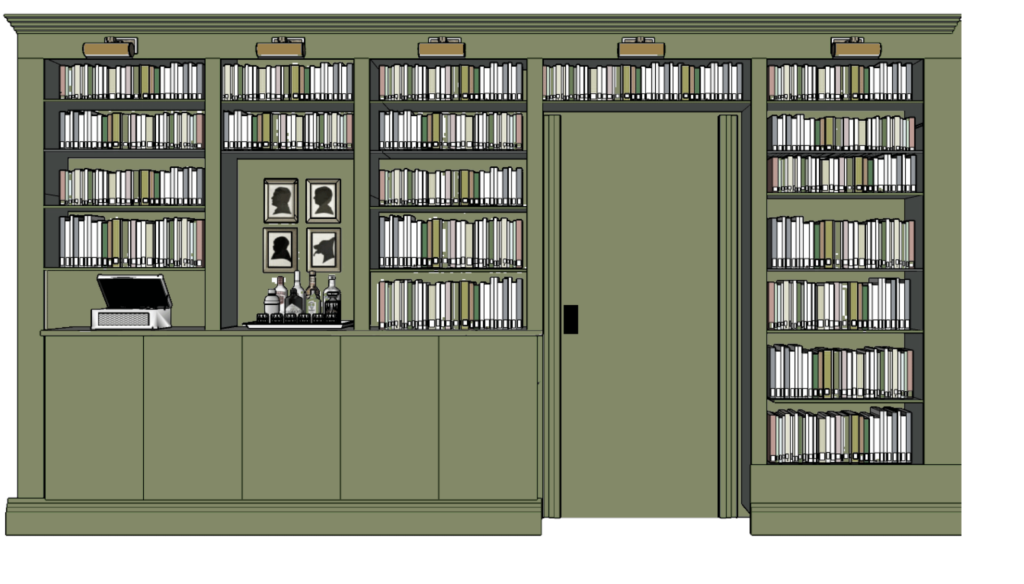
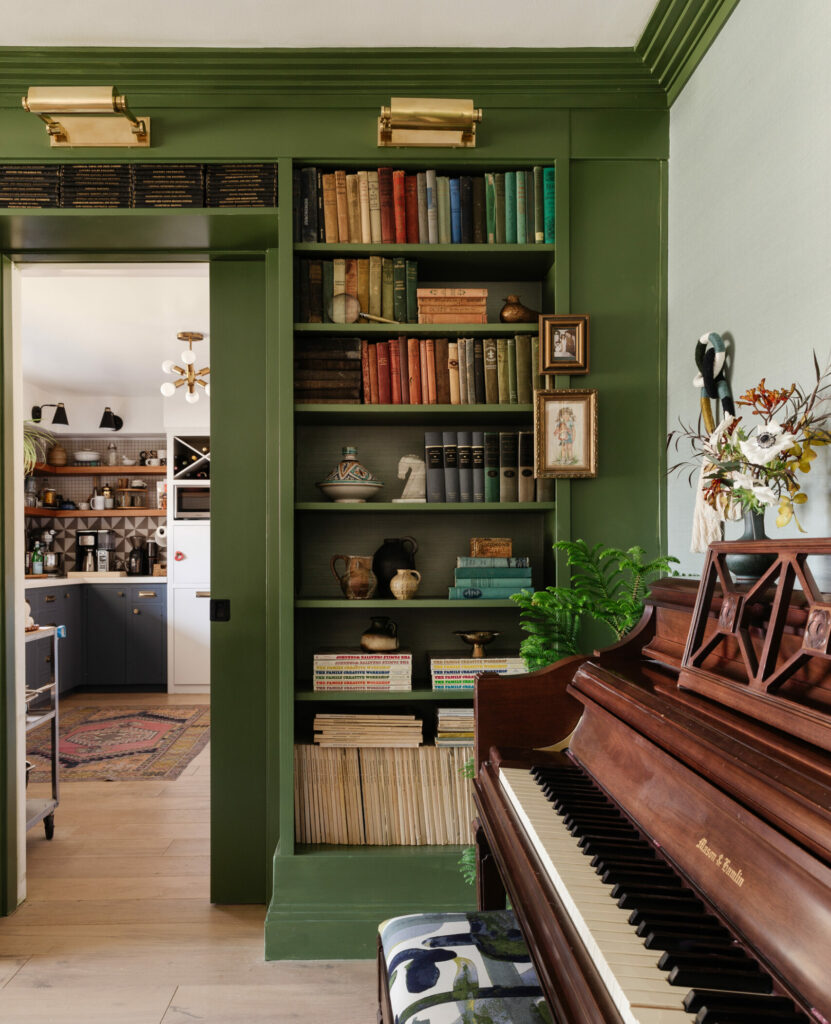
Back in 2020 my dad and I designed this built-in library shelving for my dining room. The budget was to tight for custom cabinetry, so we figured out a way to build the idea I had in my head using Ikea and a whole lot of trim. In my full-service client projects I rely on a custom cabinet maker, but over the years I’ve referenced this project a lot in my DIY consultations and Designer on Call projects. Domino Magazine published an article about it and I’ve even had a few people tag me in their own versions around the country (so cool!). But, I always wished I had written a detailed explanation with visuals so I’m finally doing it. Keep in mind, this was close to 4 years ago, so we’re going by memory, but hope this is helpful!
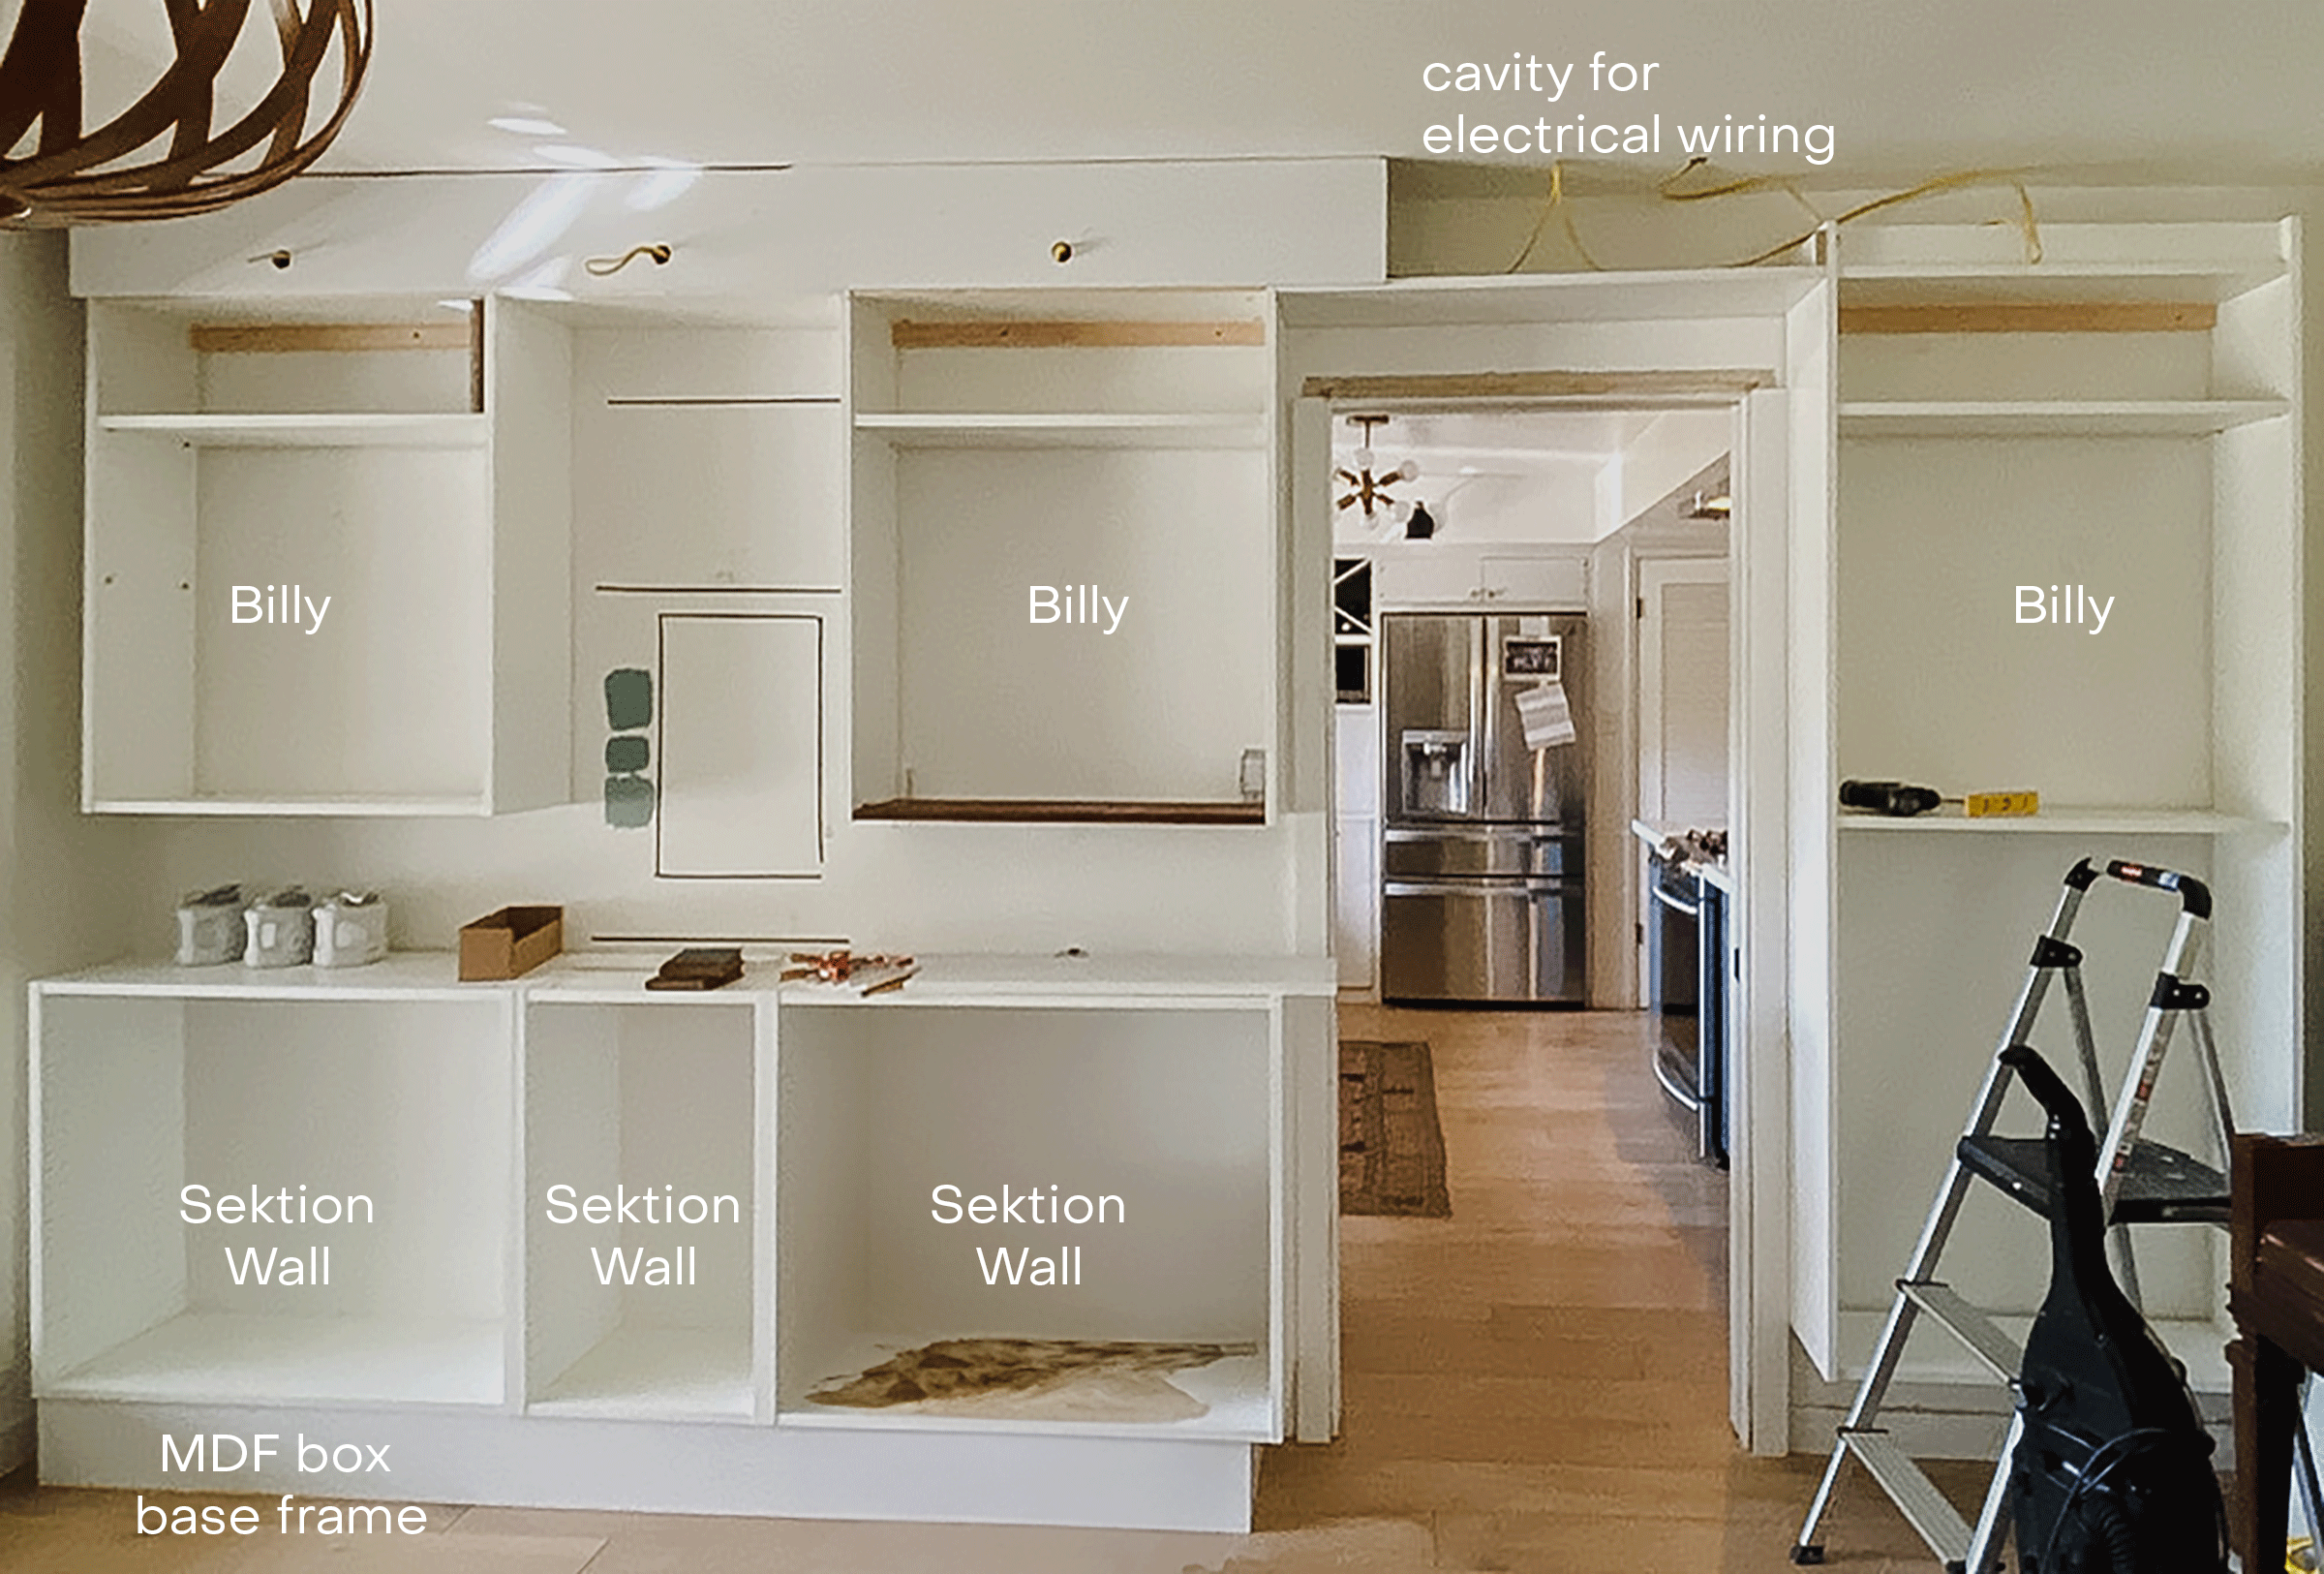
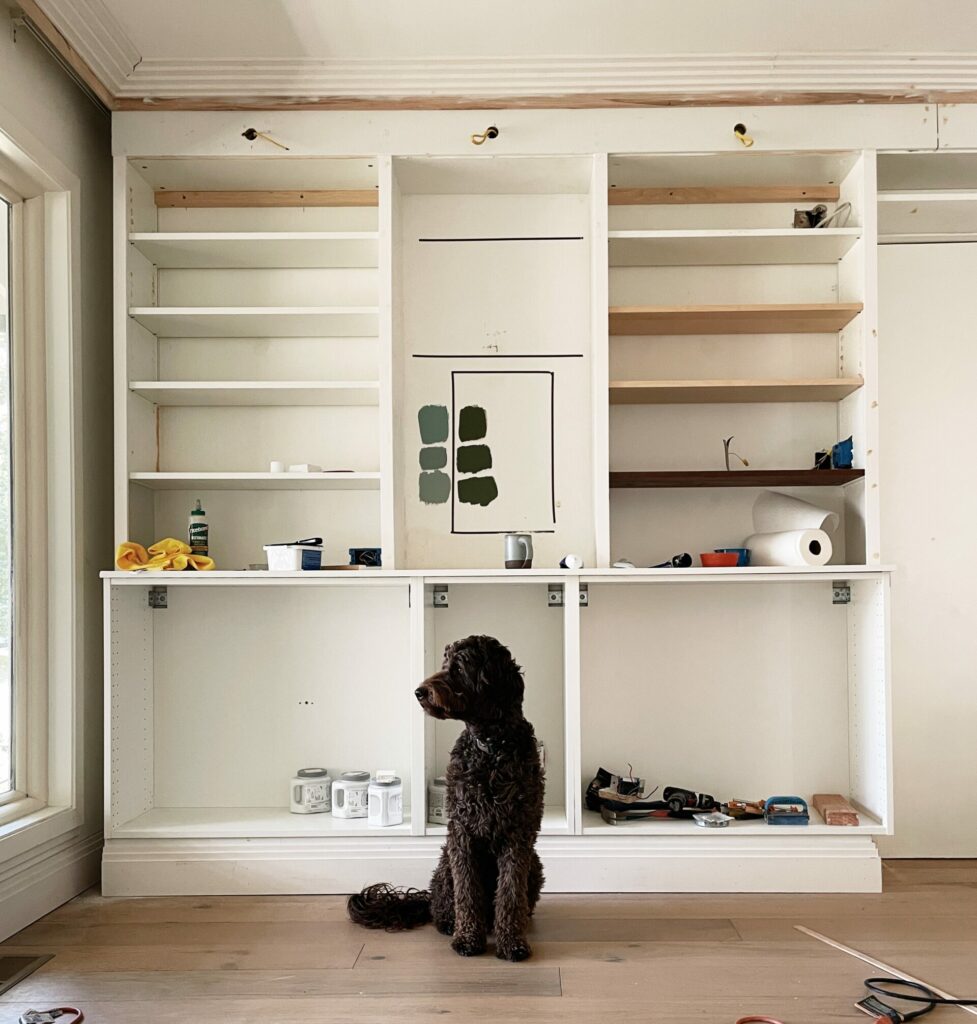
For some reason I got very minimal photos of the early stages of the build–I think my dad busted it out one day while I was gone. You can see below that the overall framework is made of 3 Ikea Billy bookshelves (2 short, 1 tall), and 3 Sektion upper wall cabinets used as base cabinets. To be honest, neither of us could remember why we decided to use the Wall cabinets instead of Base, since they do come in the same sizes. It could have been a pandemic supply chain issue, or we could have wanted more support for the countertop (which isn’t really a countertop).
Here you can see the overall framework before trim and paint. The Billys (Billies?) are hung upside down on the wood support cleat. Hanging them upside down allows them to be fastened to the wall by their more supportive base and the front of the base then gives a vertical surface for trim panels to be applied to.
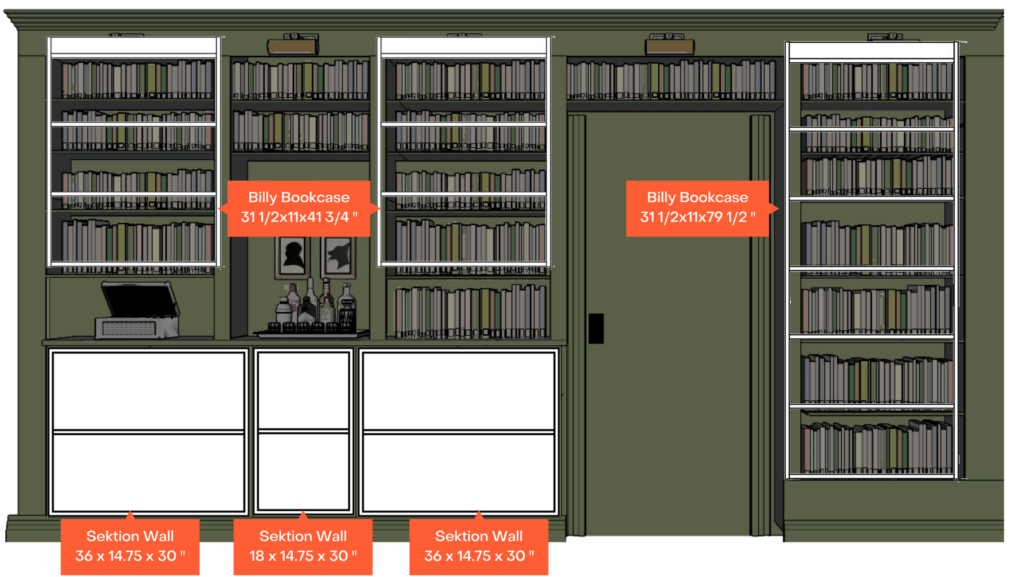
Here’s a drawing of the Ikea parts highllighted to see how everything interconnects.
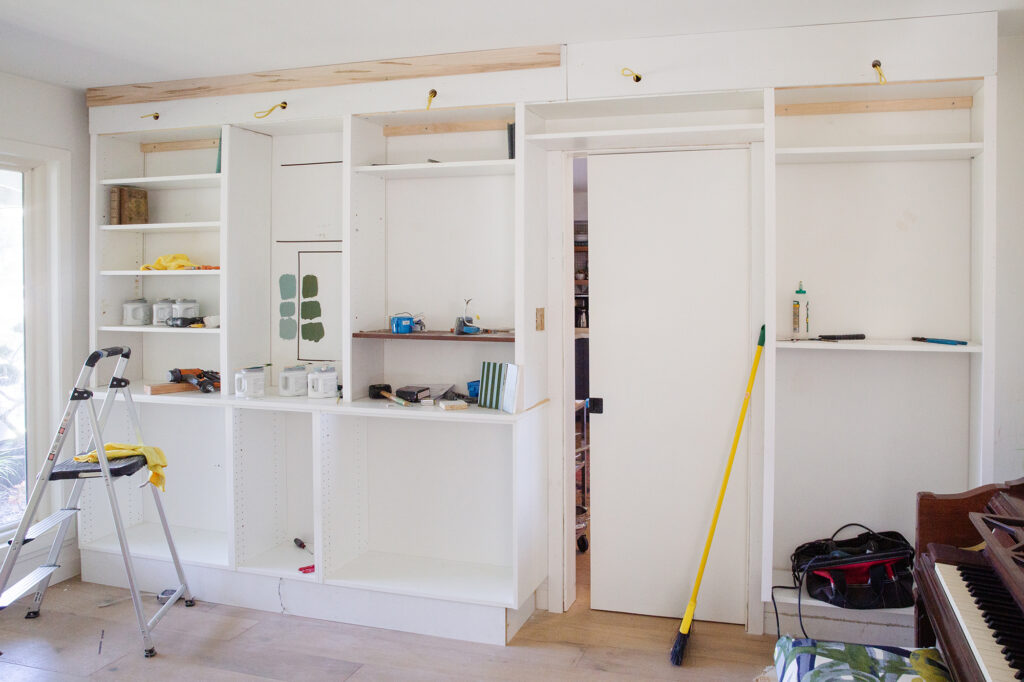
Below the top panel is closed up and trim panels have started to be applied. There is vertical 1×2″ trim that covers the sides of the Billy shelves and also gives the illusion that they go all the way to the countertop.
All the red outlines below show the trim boards used to create a more complete, built-in look. Over the doorway we removed the door trim and added an MDF shelf to completely surround the door with books. There was an extra space between the tall Billy bookshelf and the floor so we added an extra filler panel to close the gap.
We wanted to create a bar in the space between the short Billy shelves so I had some glass shelves cut-to-fit at a local glass shop and attached them with small brackets.
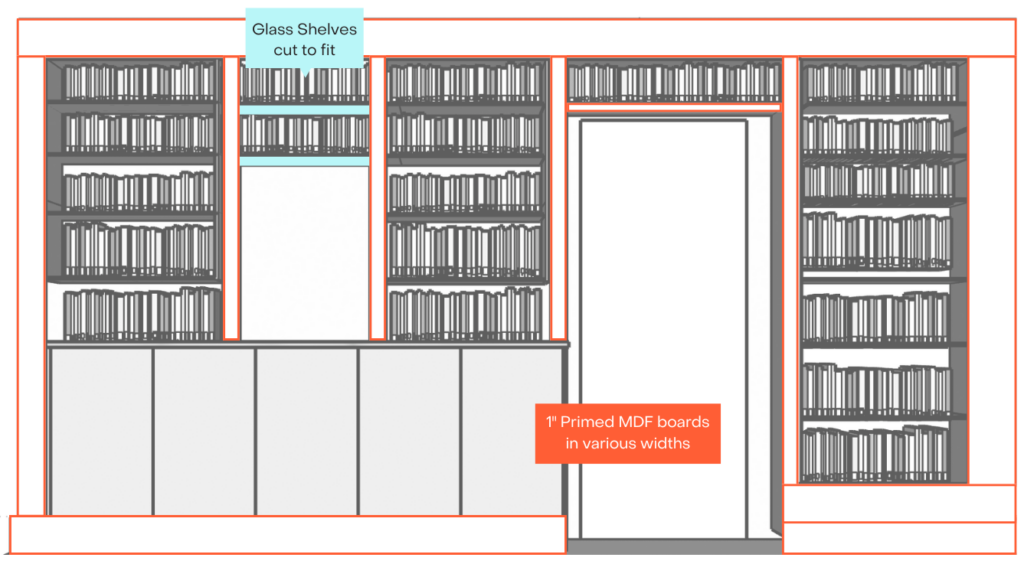
My dad drew this cross-section (not-to-scale) to give a better breakdown of the pieces involved. Sizes of what you need will be case dependent but everything is made from a mix of white shelving and primed MDF in various sizes.

The next step was to add the decorative crown and base moulding which runs around the room. Ignore the mixed colors of the shelves, it was another #pandemicproblem and it was all getting painted anyway. The gap to the left was because the lower cabinet extended past the window and allowed room to stack back a curtain panel.
Speaking of paint, that probably deserves its own post because it was a process, but here’s a quick video with all the steps I used. The rest of the room was wallpapered in grass cloth so I applied it to the back of the shelves as well to lighten everything up a bit.
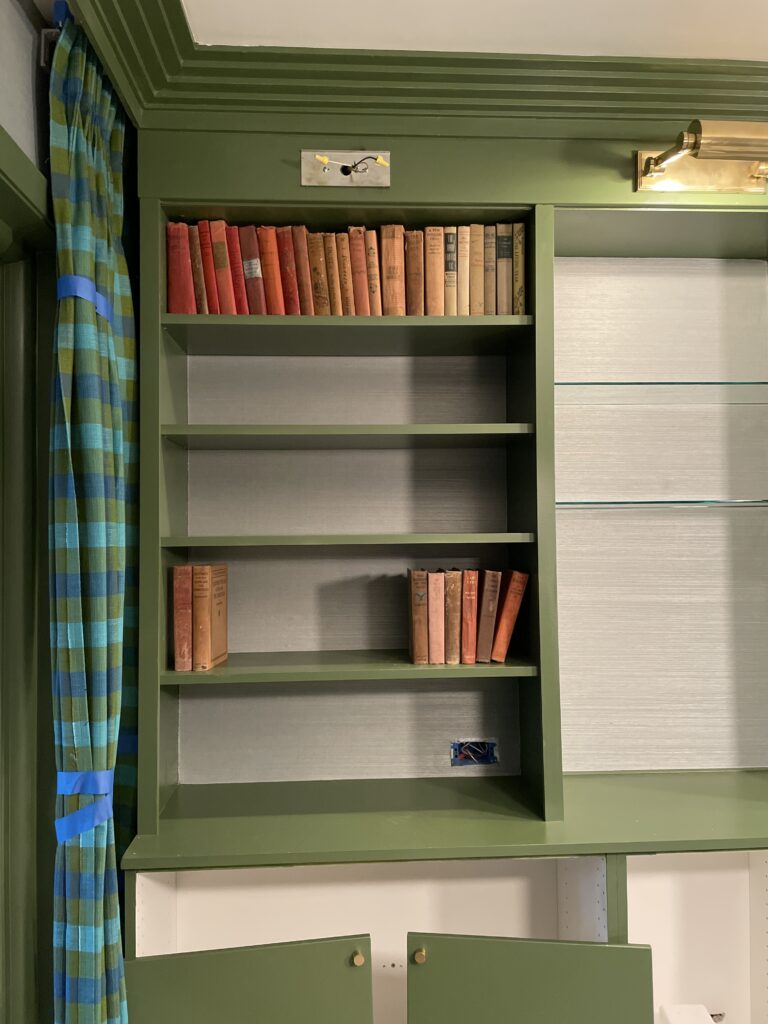
Then the final light fixtures and the glass shelved were installed and all the books and final styling accessories!
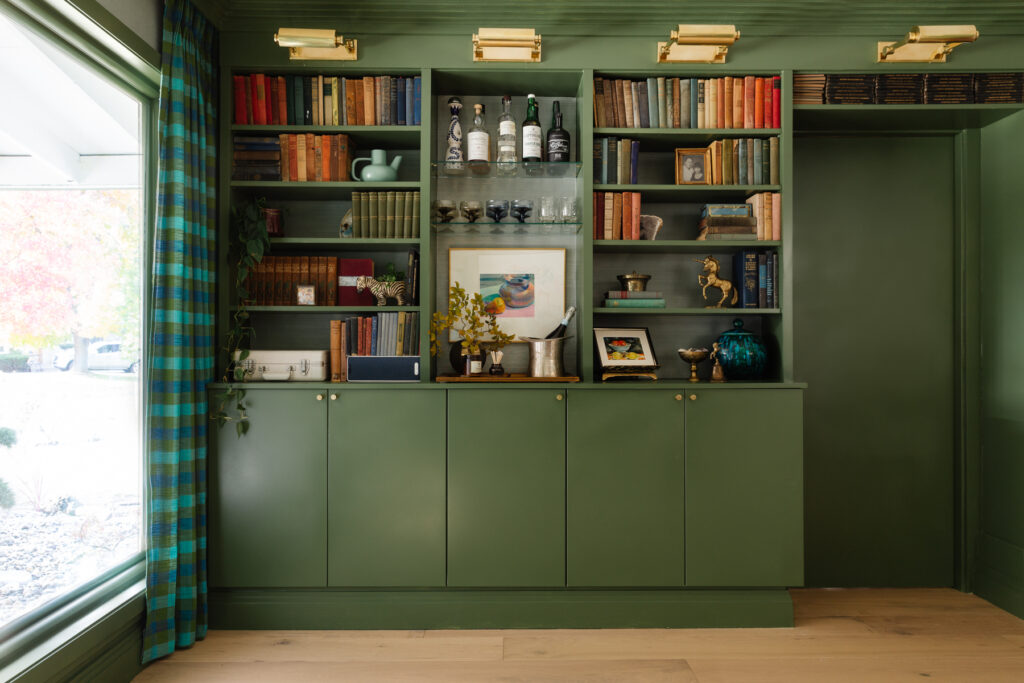
I don’t have all the exact list of every part we purchased anymore but here is a rough list of costs. To build and install this size custom cabinetry could easily cost $10,000 through a professional cabinet maker. Although my hack is definitely not the quality you’d get through a cabinet shop, don’t let anyone tell you otherwise, its held up well and I’m very happy with them still. I did a rough calculation of what everything costs based on today’s prices. Full disclosure, some of the products in the original build were sponsored for One Room Challenge, including the decorative mouldings fom Ornamental and the wallpaper. But pricing it all out, the materials add up to under $1500 (excluding lighting and hardware) which is really amazing for 12 linear feet of bookcases and closed storage.
Cost of Materials (products linked)
$1406
To read more about this project you can catch up here. Let me know if I missed anything and if you have questions!
