

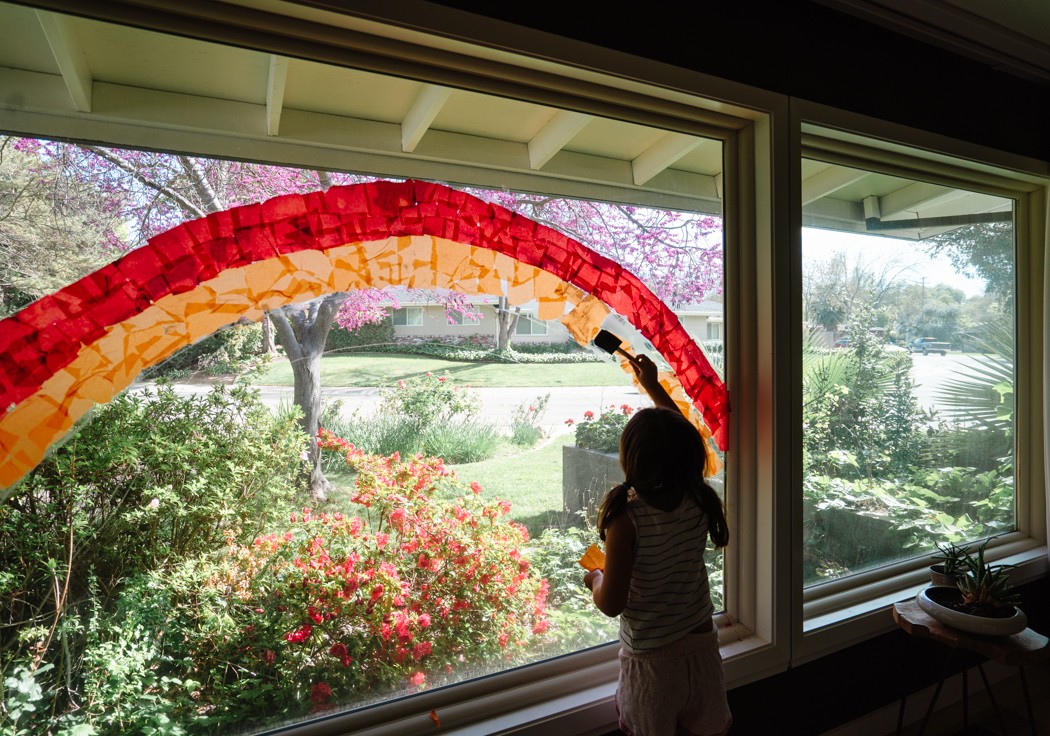
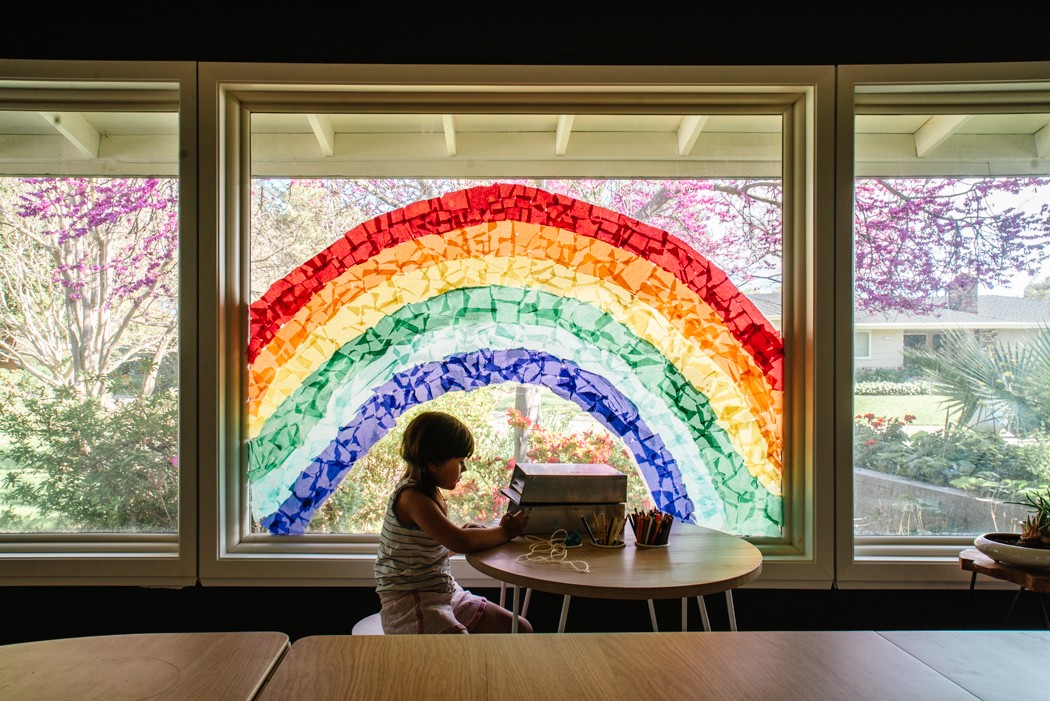
Hi from the end of our second full week of quarantine in the life of COVID-19. I’ve been posting random ideas and activities on my Instagram Stories but had a few requests for more information on this tissue paper rainbow we put on our front window last week.
Inspired by the 518 Rainbow Hunt, a Facebook group created to keep people connected and hopeful during this time. In that group, if you hang a rainbow in your window, you can add the general location so families can walk through neighborhoods hunting for them. Then I saw Amanda Jane Jones’ tissue paper version and knew it would be a fun project for my daughter and I, as well as add some joy inside and outside our home.
You’ll Need
- measuring tape
- a white crayon
- string
- colorful wrapping tissue
- paint brush ( a sponge would probably work too)
- corn starch
- water
Instructions
Prep Materials
Make the Glue
- 1 TBSP cornstarch
- 3/4 cup hot water
Combine ingredients in glass measuring cup
Stir with paint brush or whisk until thick and translucent
Allow it to cool to touch
Prep Tissue Paper
We tore regular gift wrapping tissue paper in various sizes. Our pieces are 2-3″ each, which made the work go fairly quickly without making it too busy. Our tissue did have some color bleed which stained our fingers and could drip onto your floor and millwork. Test it first, protect the surrounding area and wipe it as you go.
Draw the outline
Skip this section if you’re not looking for a perfect arc. A rainbow stripe would look great too, get creative!
- Measure and find the center point of your rainbow and where you want the top arch to be. Mark it with a small X.
- Determine the bottom of the rainbow and mark the Horizon Line if needed
- Tie a length of string to the crayon long enough to reach the Horizon Line
- Place crayon at the X and let the string drop to the Horizon Line
- Hold the string taught at the Horizon Line and draw a rainbow arc on the window
- Draw concentric arcs for each color of the rainbow you’re including
Build the rainbow!
There’s no right or wrong way to do this! Paint a thin coat of glue on the window glass a small section at a time. Before it dries cover with a piece of the tissue paper. We overlapped each one an inch or so but we weren’t trying to be perfect about it. Work your way across the window one color at a time.
Glue will remove with warm water when you’re ready to take it down.
This same technique can be used to add hearts, or any other moments of joy and support in this difficult time. I’d love to see your rainbows, tag me @studioplumb on Instagram!


2 thoughts on “Window Rainbow Hunt DIY”
Thanks for any other informative site. The place else
may just I am getting that type of info written in such a perfect means?
I have a undertaking that I’m just now working on, and I have been on the look out for such information.
Love watching sunset !